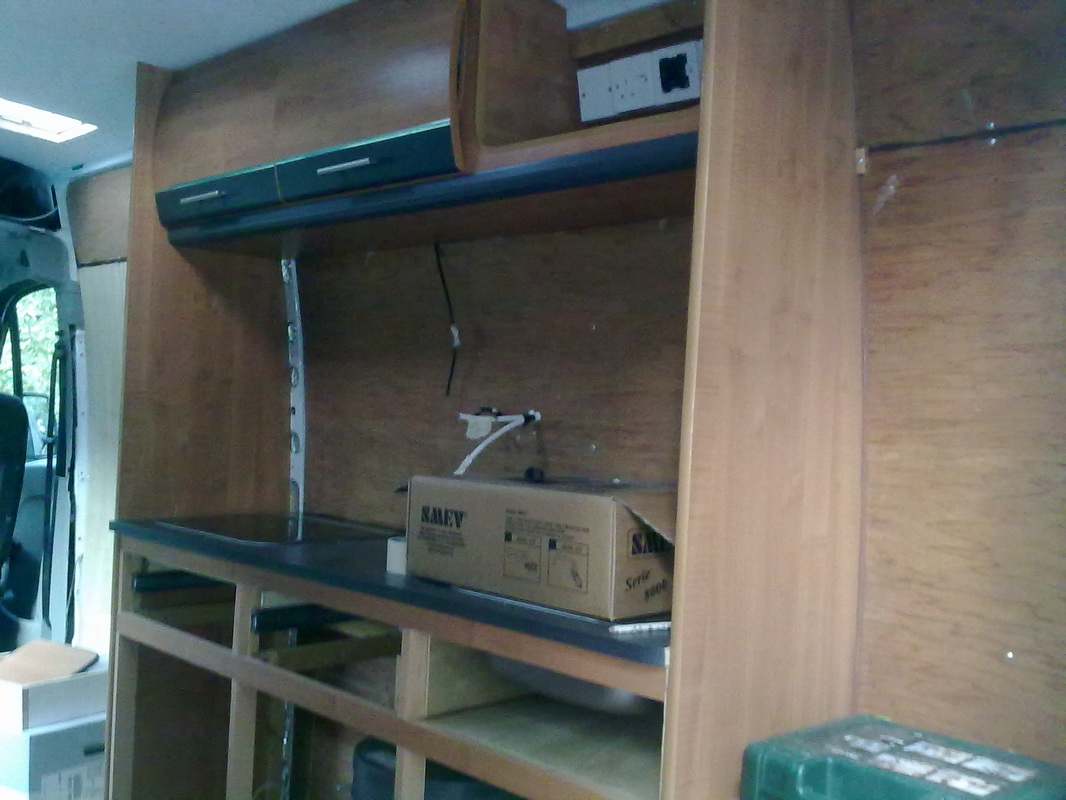
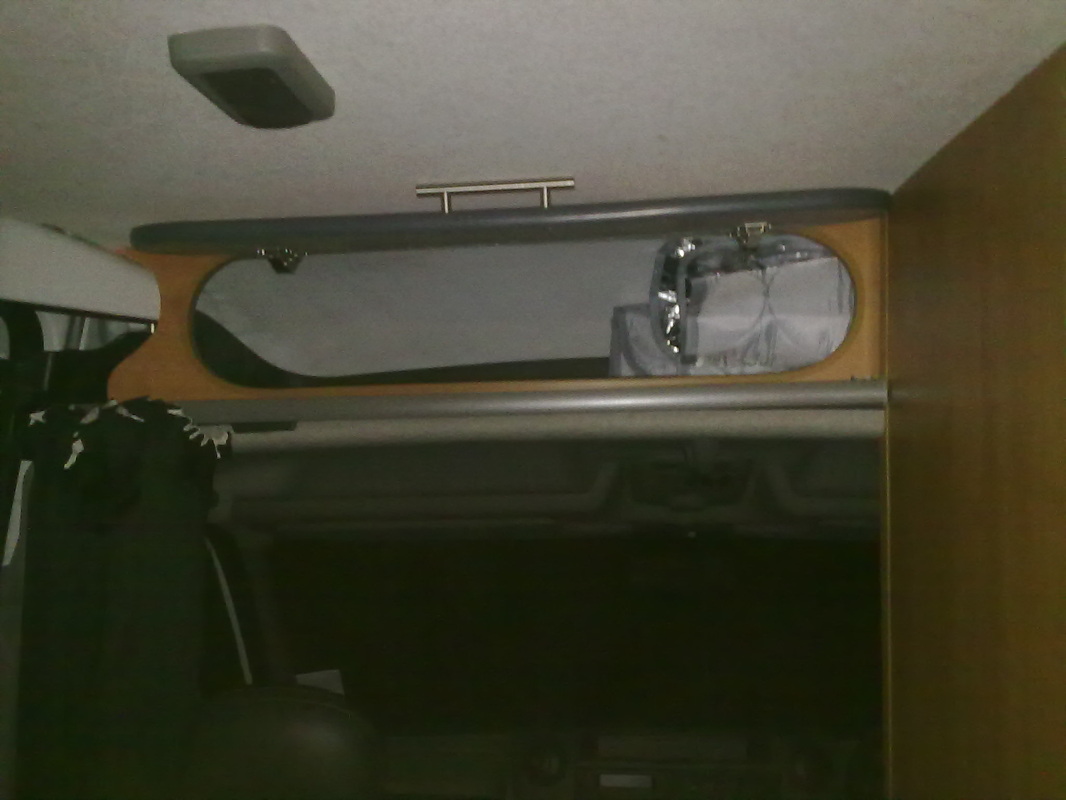
  I had to make the door for the void above the cab.There is just a narrow entry,but a huge storage space:half of it hidden from view by the washroom. 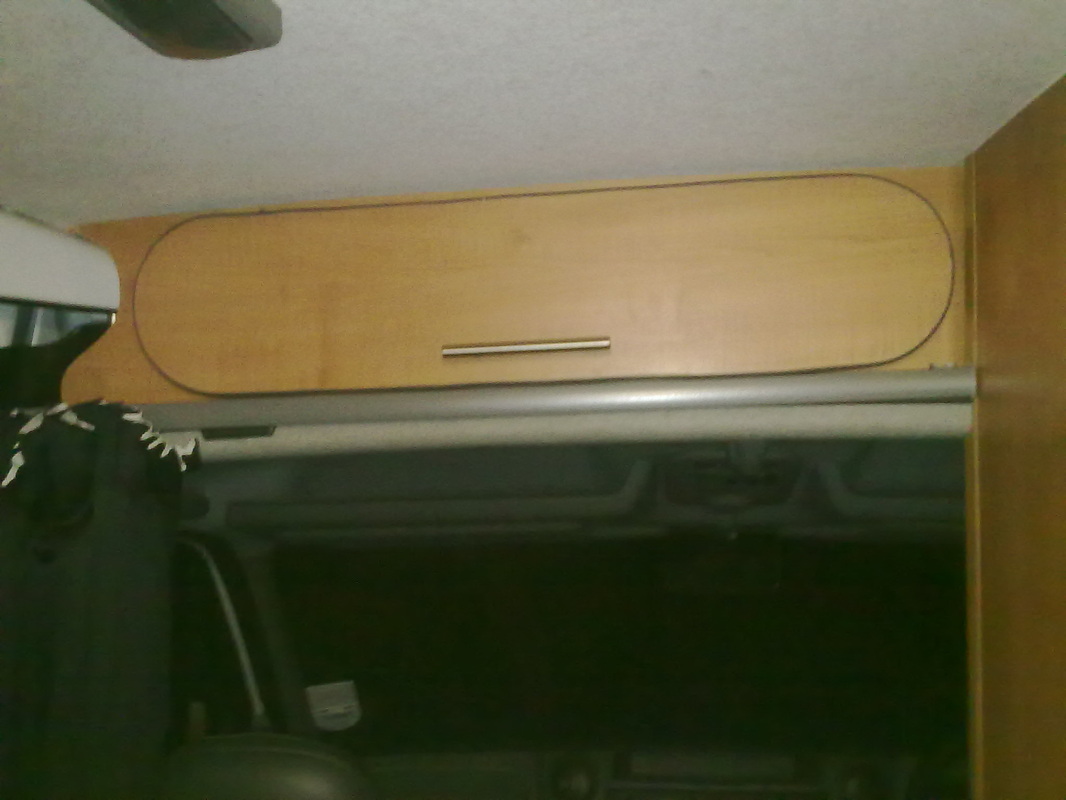 | 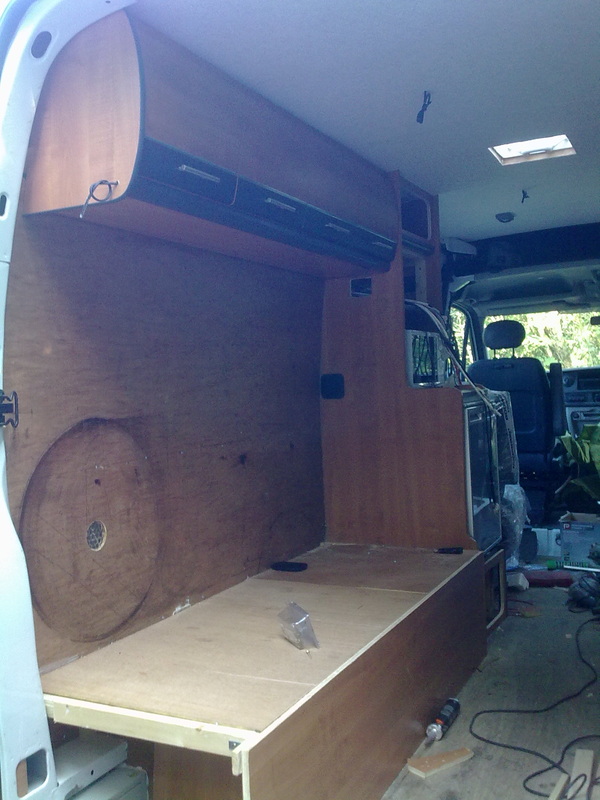 The top cupboards were build with a rear frame of 18mm x 44 mm pine with sides and bottom of 15mm lightweight ply,and screwed into the convenient metal bulkhead running at about the height of the handles,all along the sides of the van.The doors are commercially available and give,I think,a really professional "look" to the units. 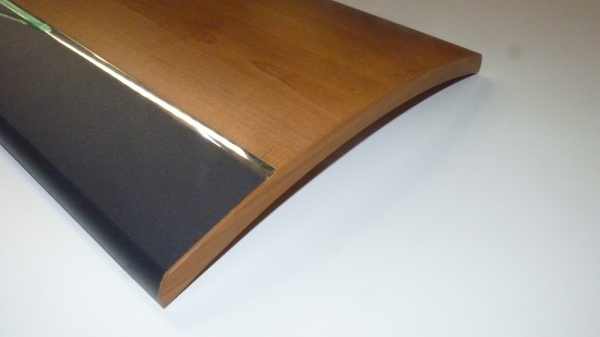 |
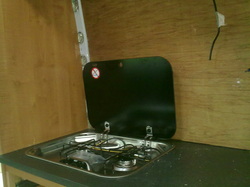
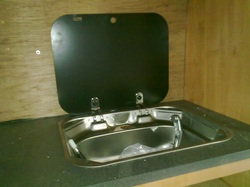
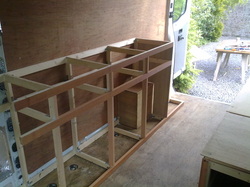 Frame is made of 20 mm x 42 mm pine,visible edges faced with stick-on veneer.The plan is for 3 drawers,with cupboards beneath,topped with a kitchen worktop in which will be set the gas hob and sink.The cupboards will be partly for storage but will have to be occupied by the water heater,pump and associated plumbing.Space is also limited by the wheelarch 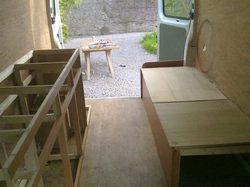 Careful measurement results in the kitchenette having to be much narrower than in a home kitchen,just 40mm.This allows for the central walkway giving the ability to walk right through the van,and is exactly the right width to allow the top of the bed to slide out over it to make a double bed. A removable table ,set in the floor,will be usable from the bed seat Some builders build right across the back of the van.This gives some advantage in making maximum use of space,but you have no back windows to look out of,(either to look at the view or to aid reversing !)and you lose the versatility of being able to get in and out of the van by both the sliding door or the rear.Instead,I went for a walk-through layout.I imagine that parked up with a view over the beach,I will be able to sit in the van on a warm day with the doors wide open.Here's hoping! 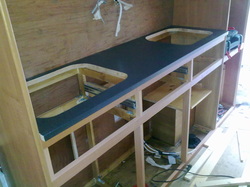 Worktop in place,and 15 mm laminated ply sheets making the wardrobe at the rear and the bulkhead at the fore.these are scribed to exactly fit the curved profile of the walls.A somewhat challenging task,needing a template to be carefully constructed from waste 3mm ply sheet,and cardboard. 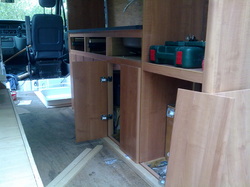 Cupboard doors going on.The basic structure was planned with the width of the doors in mind
An original idea I had when dreaming up the plan,was to get some second hand mattresses from an old caravan.I rapidly worked out that a) these would be grotty,and b) due to the critical dimensions of my build,the mattresses and cushions were going to have to be bespoke. These were not cheap,but I think that the end result is definitely worth it.  The first step was to choose some foam.As with every step in this project,there proved to be a huge choice,and choosing foam is a science in itself.Which thickness?which type of foam.?firm,soft?-you need a fairly firm bench seat to sit on,but if you have to lie on it at night it must be soft too.You can even get bespoke "sandwiches" made,with a layer of memory foam on a firmer base.I used www.foamcut2size.co.uk who are conveniently in Bristol,and I was able to lie on several offcuts on the warehouse floor before making a choice. 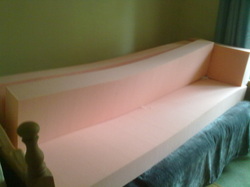 Sections of 14cm thick foam,at home,in need of covers. The biggest section is the seatbase/single bed mattress.The two narrower strips can serve as a seat back,but two of them together form the double bed mattress when the bed is extended.There is one small section as an end rest,but serves as the small extra piece of mattress for the bed extension section.  Bespoke covers were also made by a local Bristol firm.Actually,they could have supplied the foam too,but I was not to know this at the time. 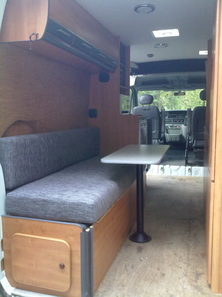 The foam has all been covered in a hard-wearing grey upholstery pattern. 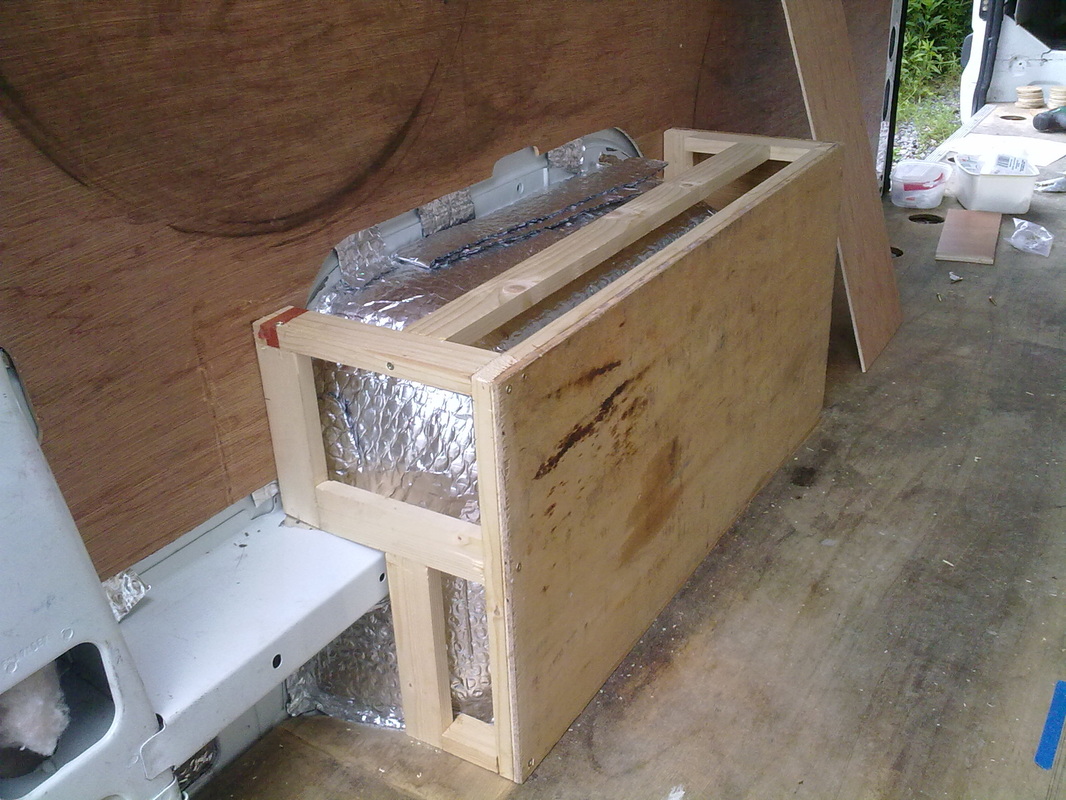
Boxing in the wheel arch ...
the black circle on the ply lining is where the spare wheel lived.This will have to find a new home,slung under the van. 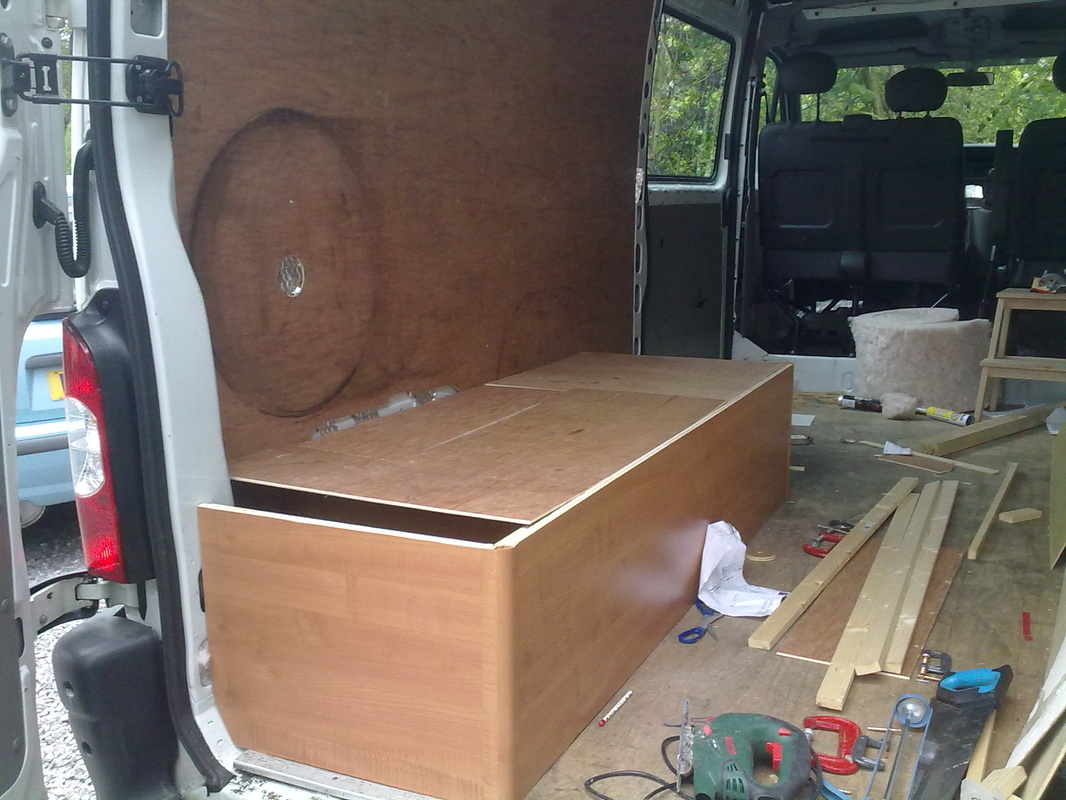
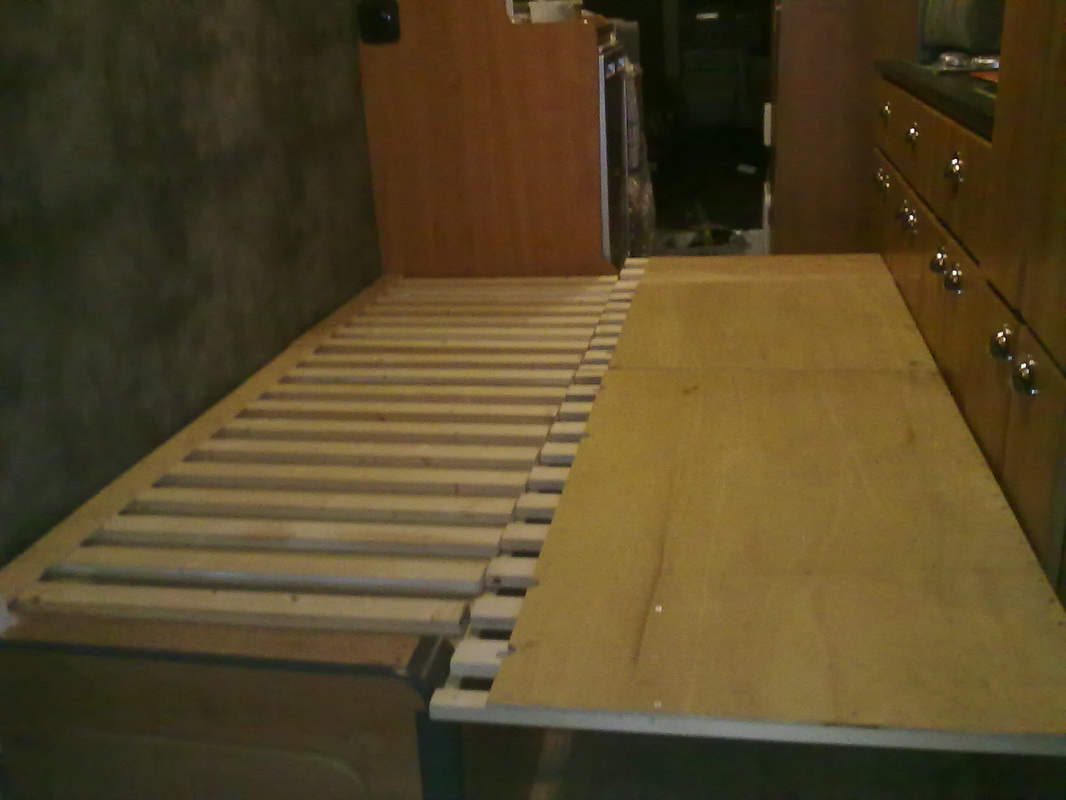
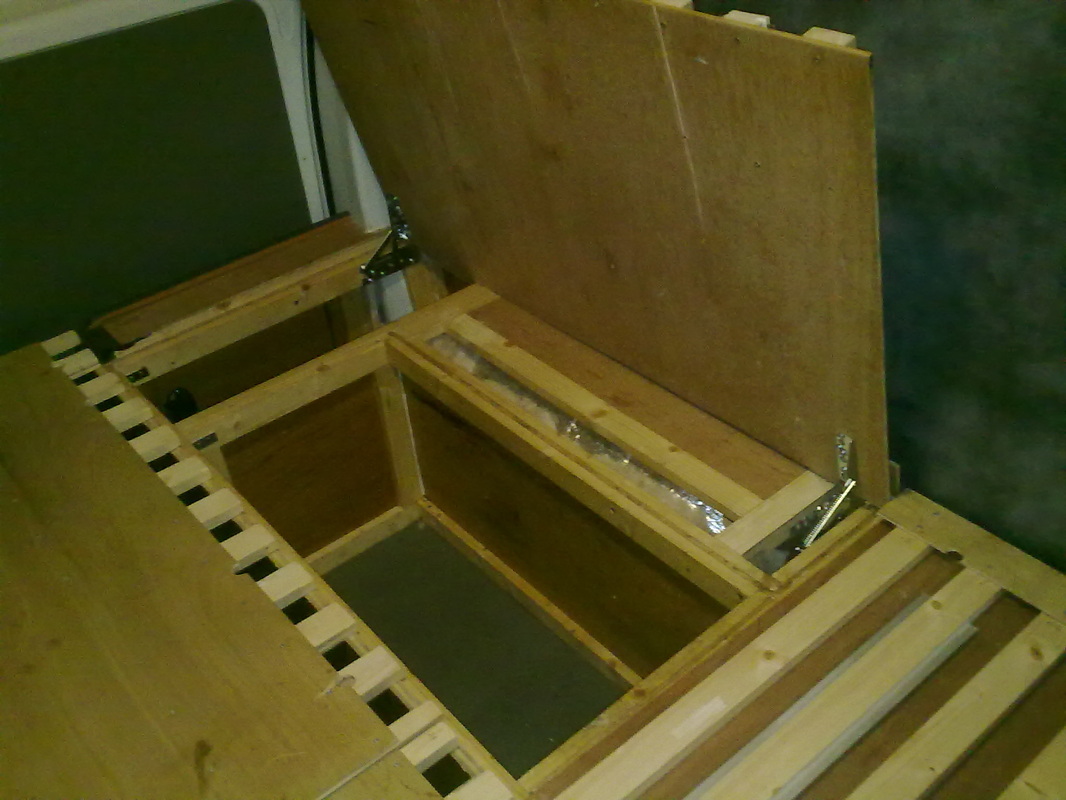
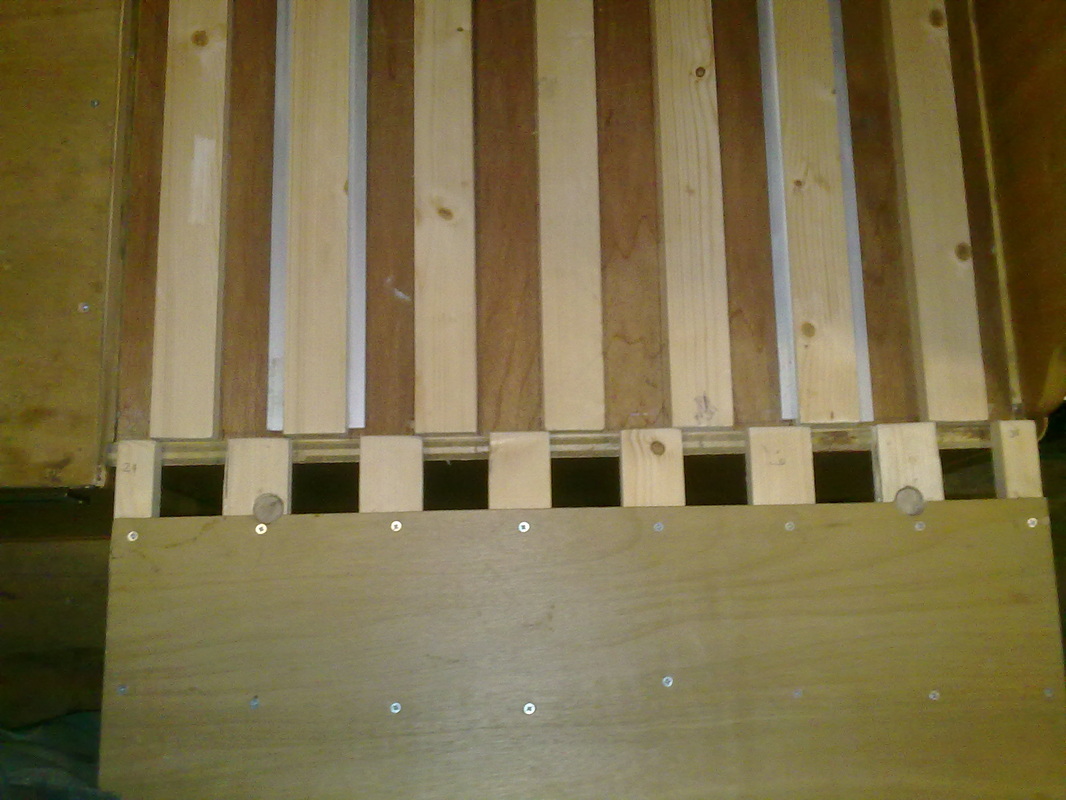
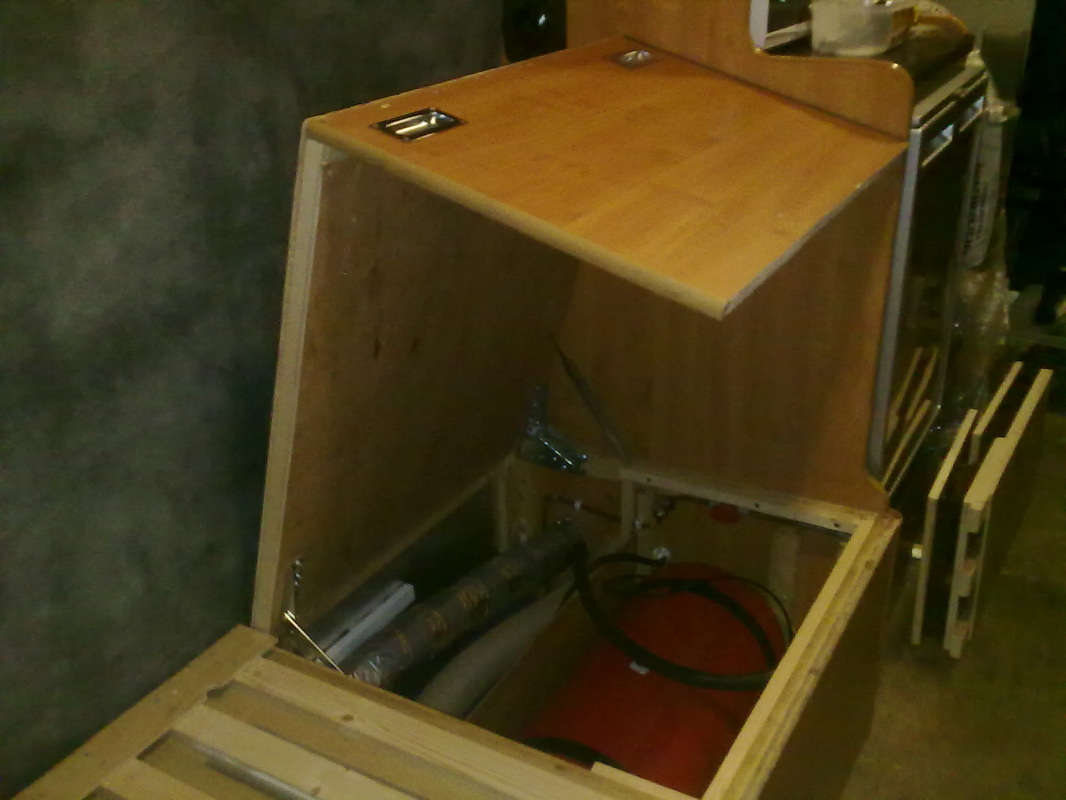
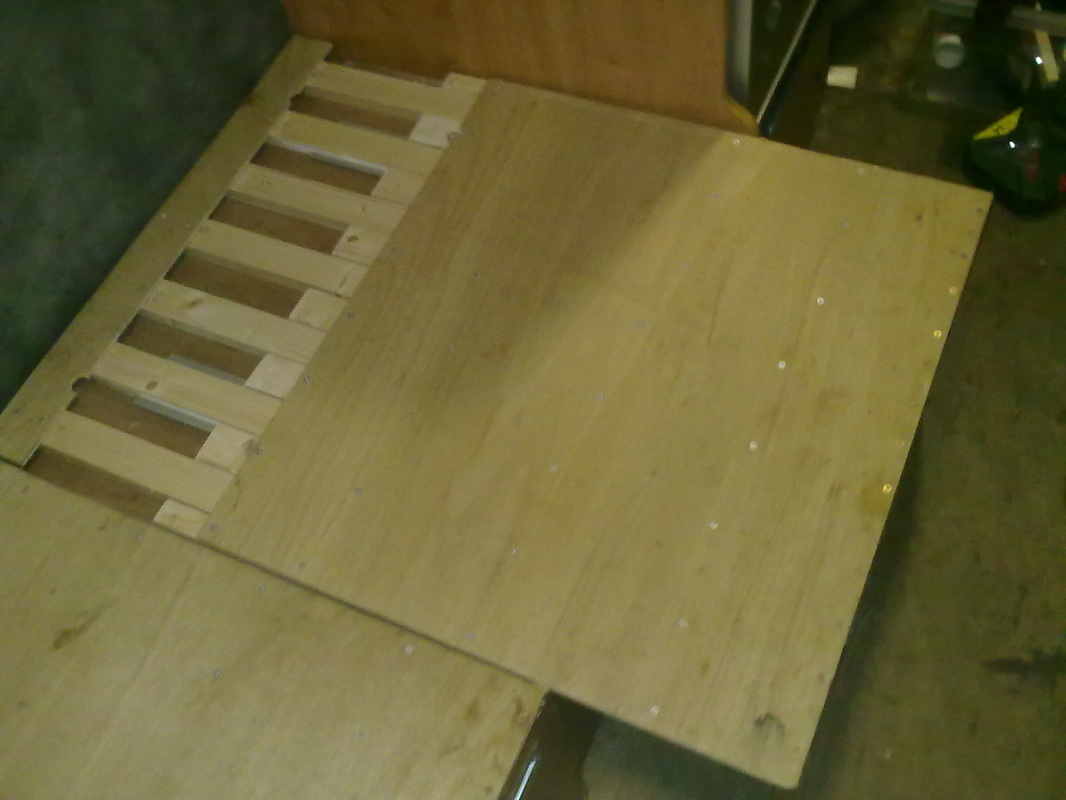
...and the constructing the bed base.This will have a storage box out from the wheelarch,,another area to the fore boxing in the gas tank and heater,both accessed by lift-up lids,having pullout layers which when both pulled out form into a double bed.Finally another section to the rear,accessed both through the lift up lid,and via a door at the back, designed for shoving in any dirty/wet gear.I have used special lightweight sheets of laminated 15mm ply for the decorative panels,(these are fully structural too)and 18 mm x 44 mm pine for the structure,with 5mm ply for the lids (supported by more strips of 18 x 44 mm pine)
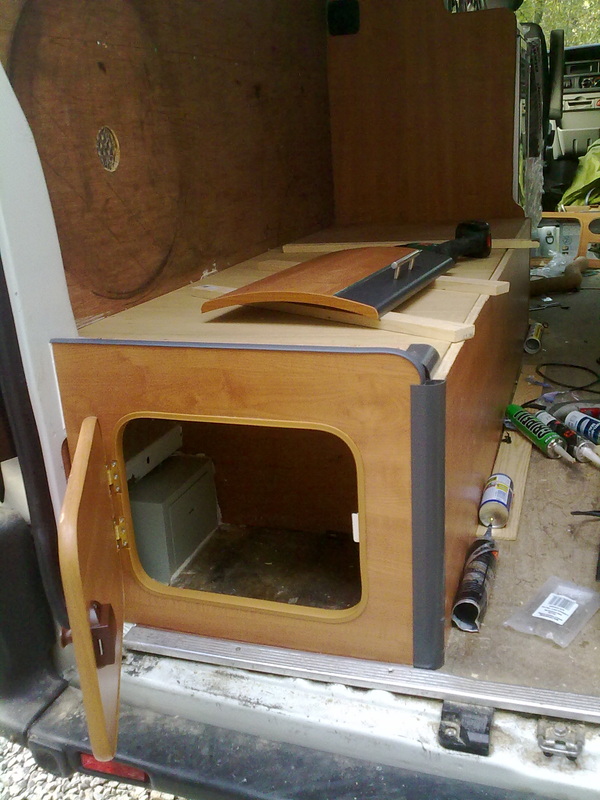
Door hole cut out ,door installed.It's easy to make neat looking holes using special plastic trim round the edge. Another type of trim slots into a groove round the edge of the door.
(Thanks to Rickvanman for his advice on Youtube clip below)
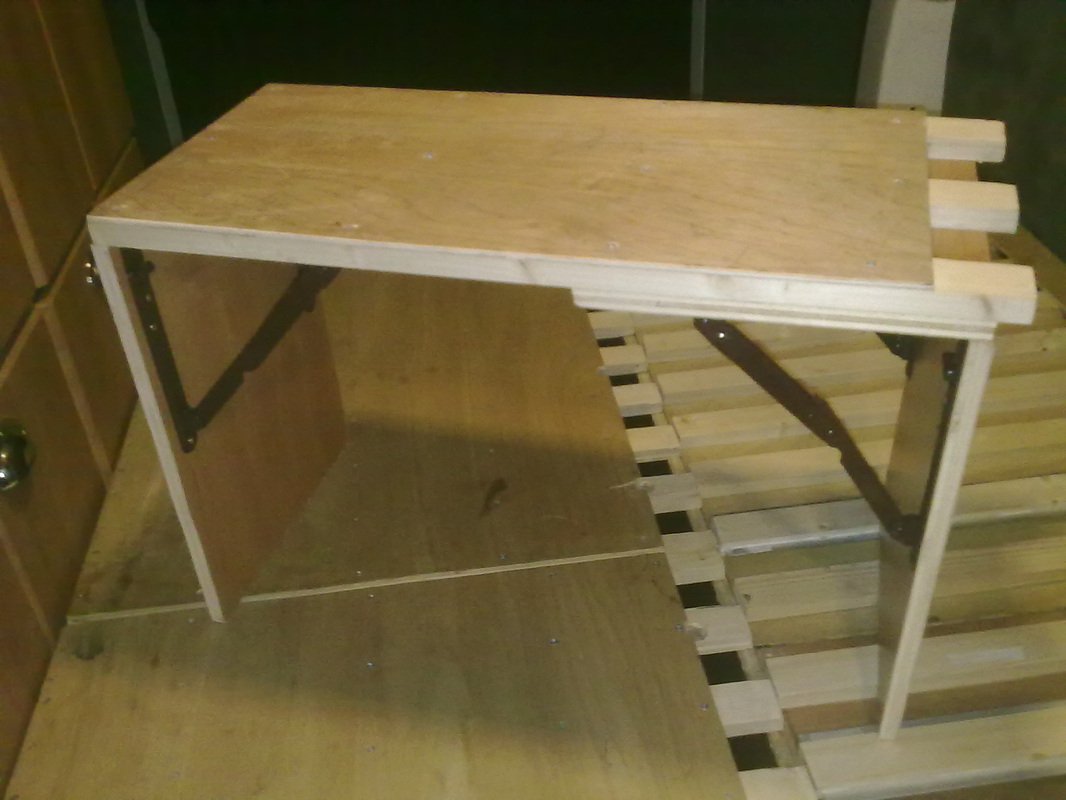
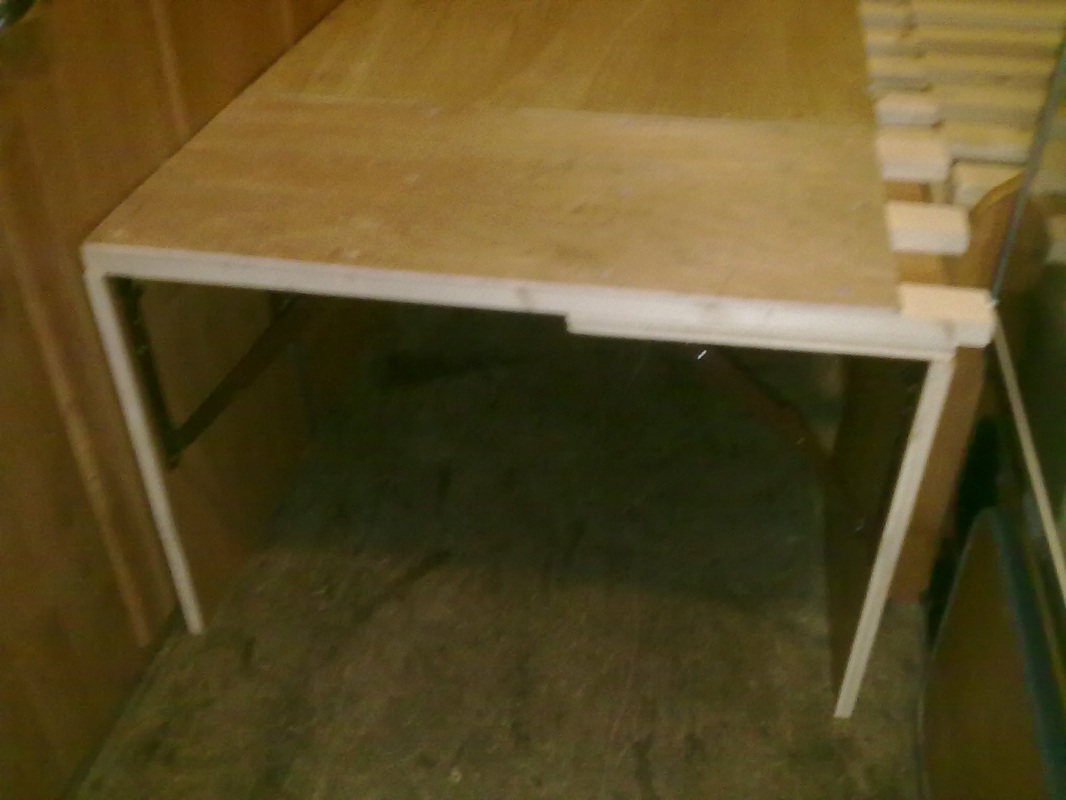
Finally,because the slide out sections could not be quite as long as the stationary side of the bed,owing to the rear door bulkhead,a small extension piece was needed to lengthen the slide-out half of the bed.Both the main slide-out sections,once released from the stationary part ,can slide either fore or aft.The extension can be added on the end of the 2 main sections,or slipped in the middle.It has collapsible support brackets and can be folded down and stored away
The double bed in all its glory. |
Renault Master campervan self-build Archives
August 2015
Categories |

 RSS Feed