Lost in Transit
  • Home
  • The van
  • 2015 Journey
  • The Route
  • Renault Master camper conversion
  • Resources

The Van's Construction : Renault Master campervan conversion

First Fix Electrics

27/5/2014

 
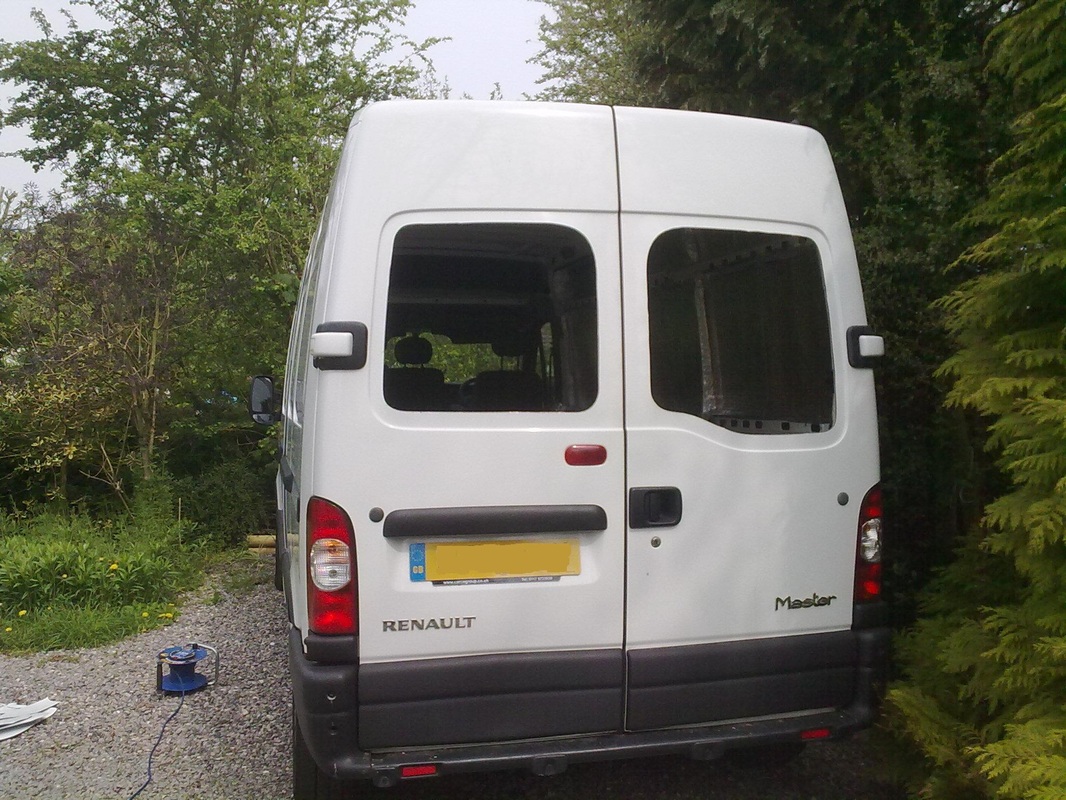
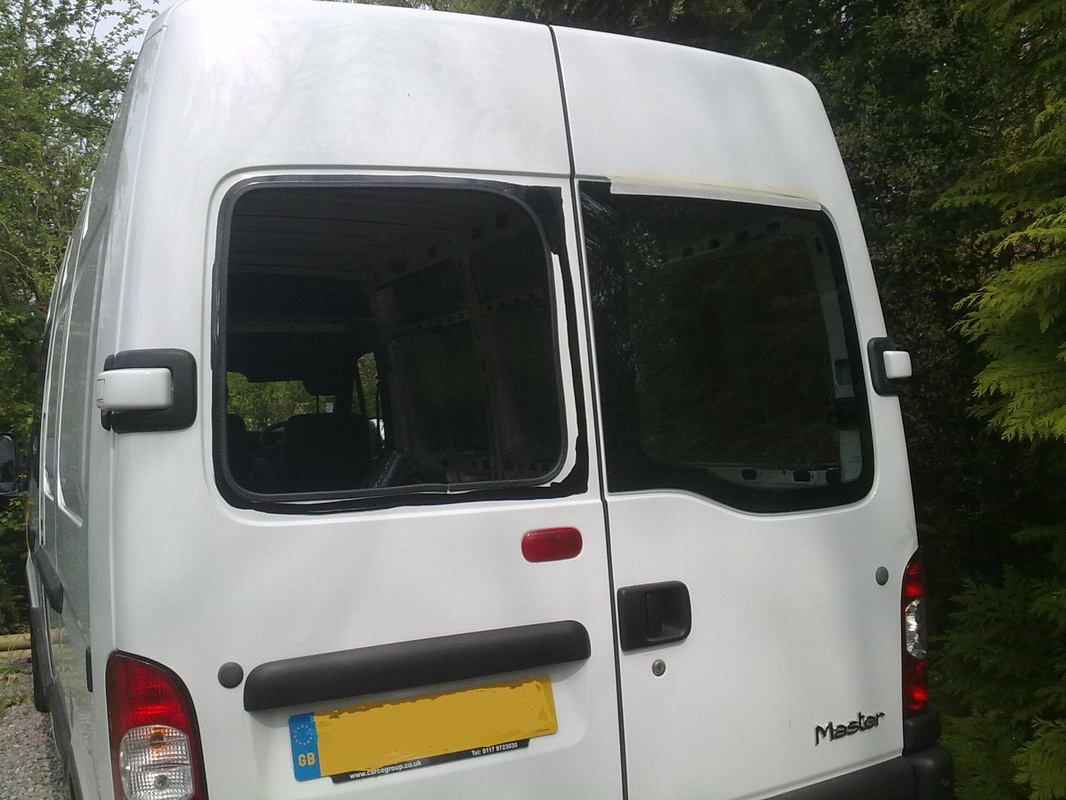
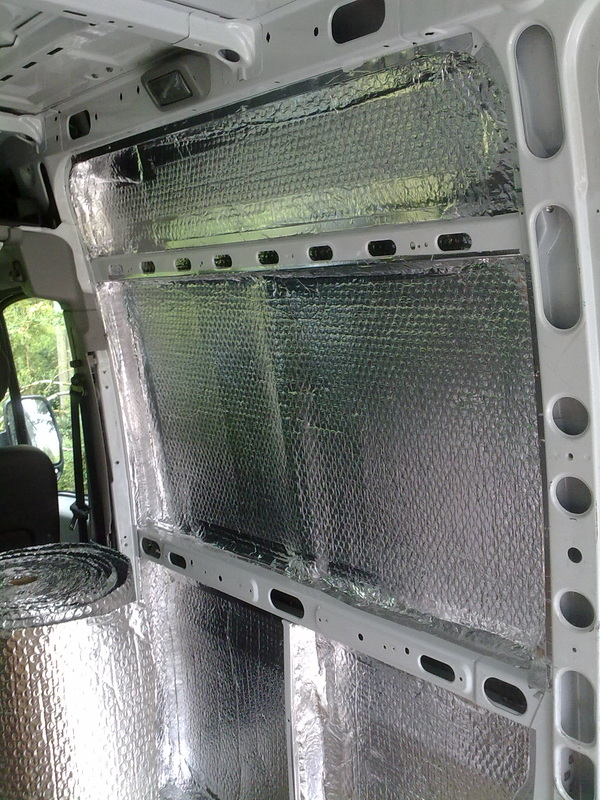
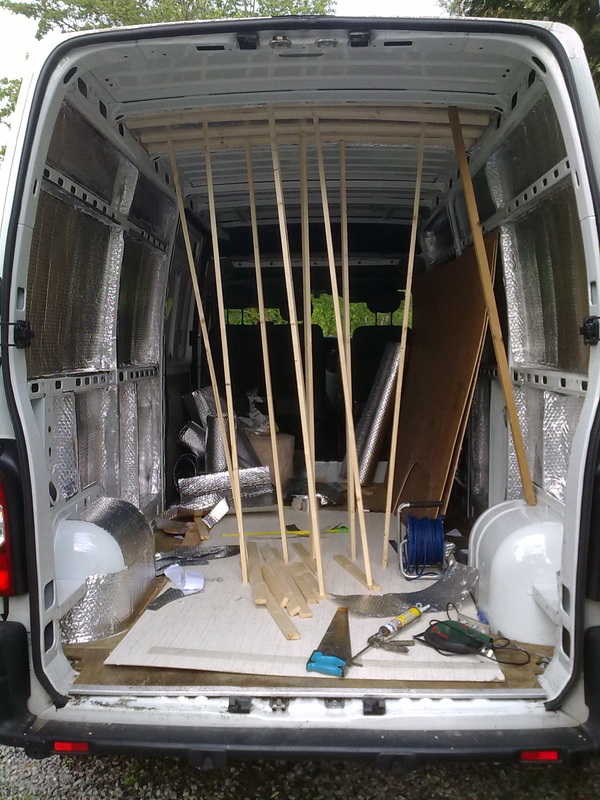
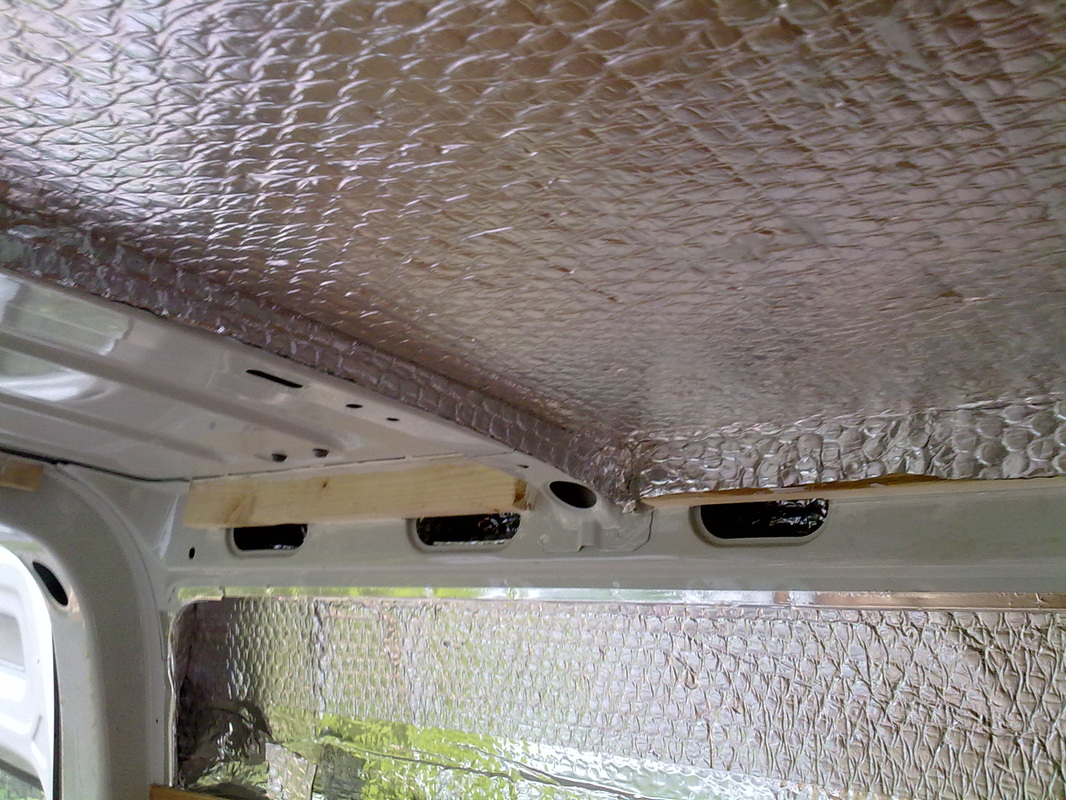
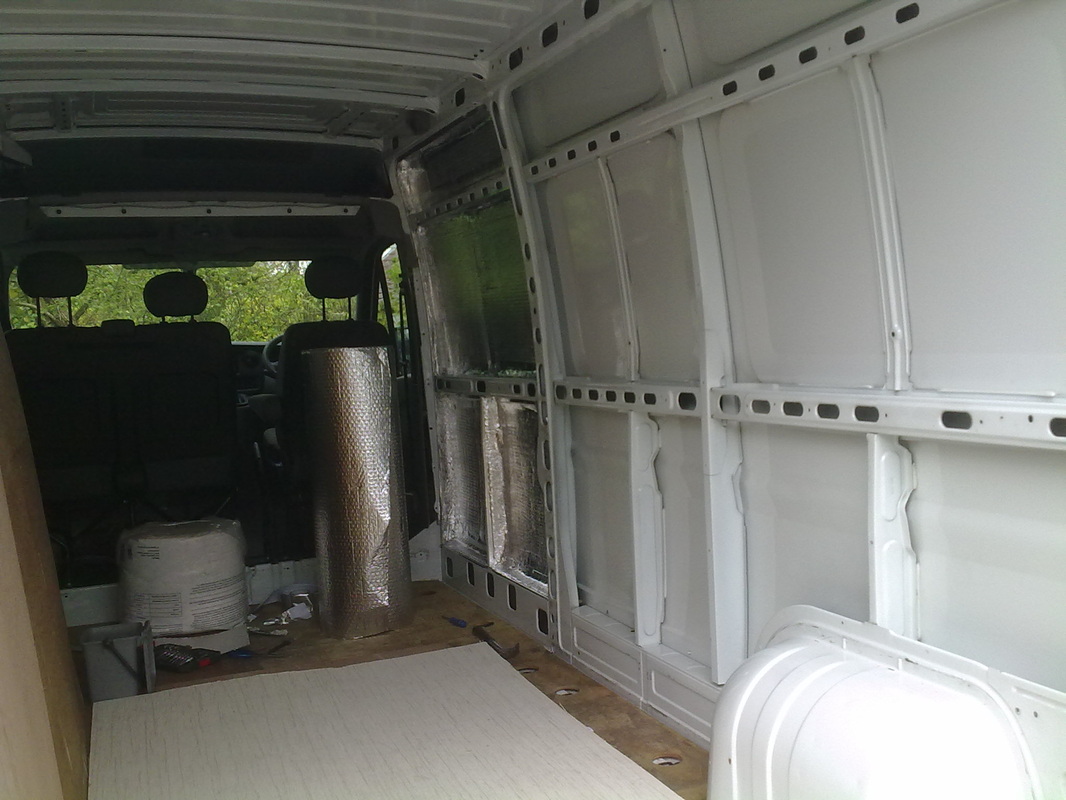
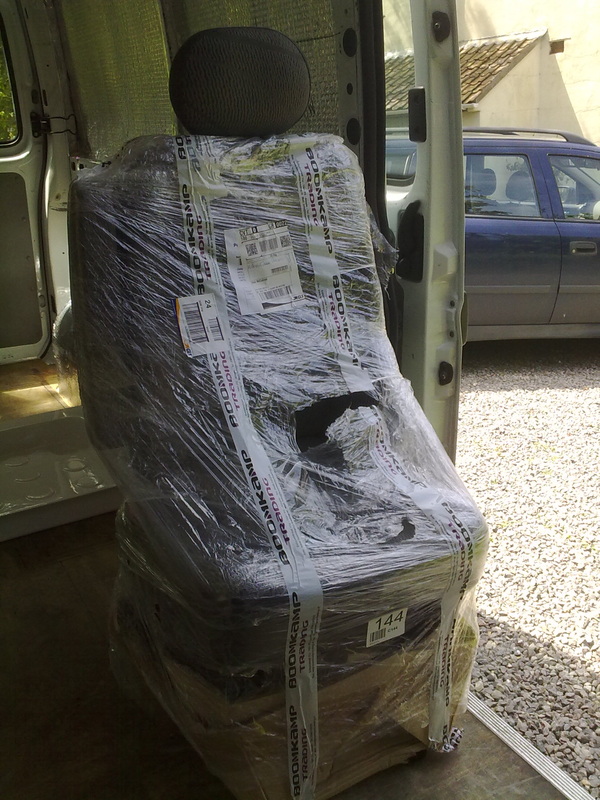
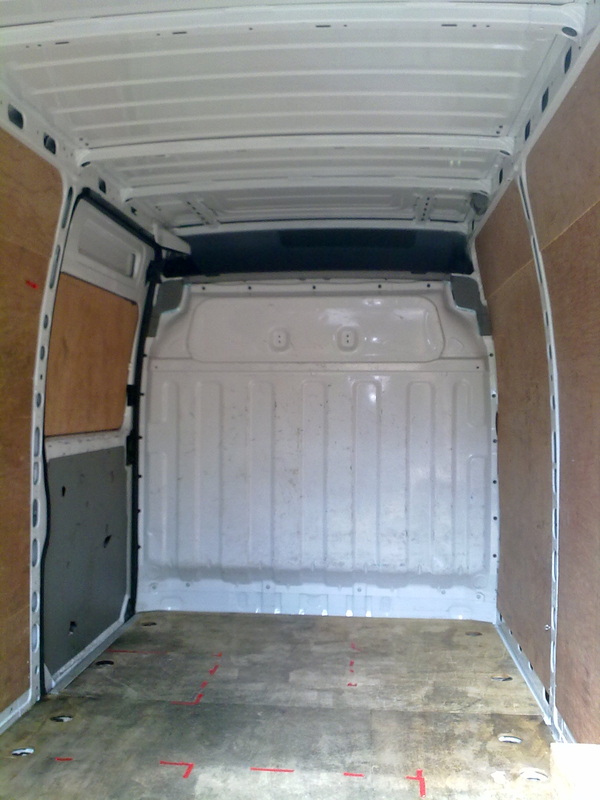
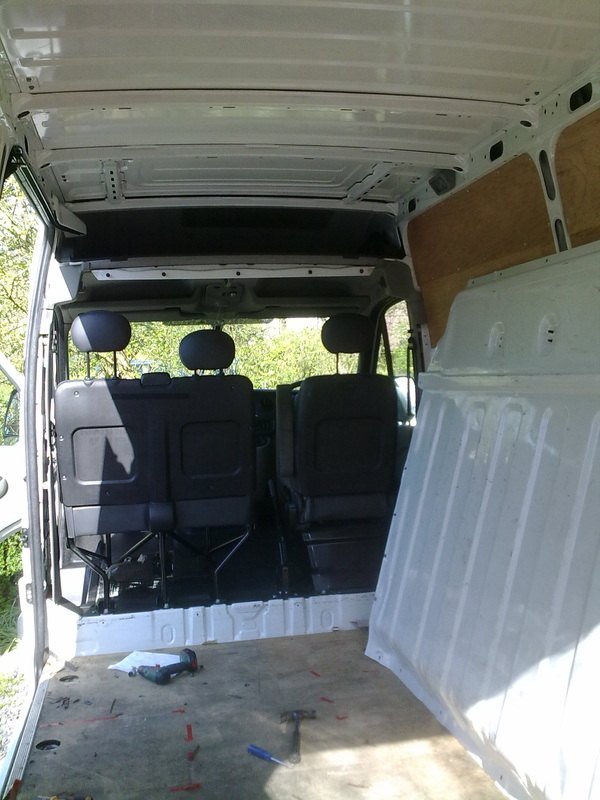
With the van insulated with silver bubble wrap,and the carcasses of bench set/bed and kitchen cupboards prefabricated,but not fixed in place,it was time for the van's first trip to Jason at Clutton.
Tasks-
Air Heater
-to fit to the floor a Propex 2000e air heater,which runs on both propane,or 240 v electricity(not both at the same time !)This needs air intake and exhaust  pipes fitting through the floor to the outside.It blows ducted hot air into the van living area.
Picture
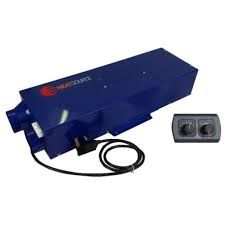
propex 2000e space heater


Gas system
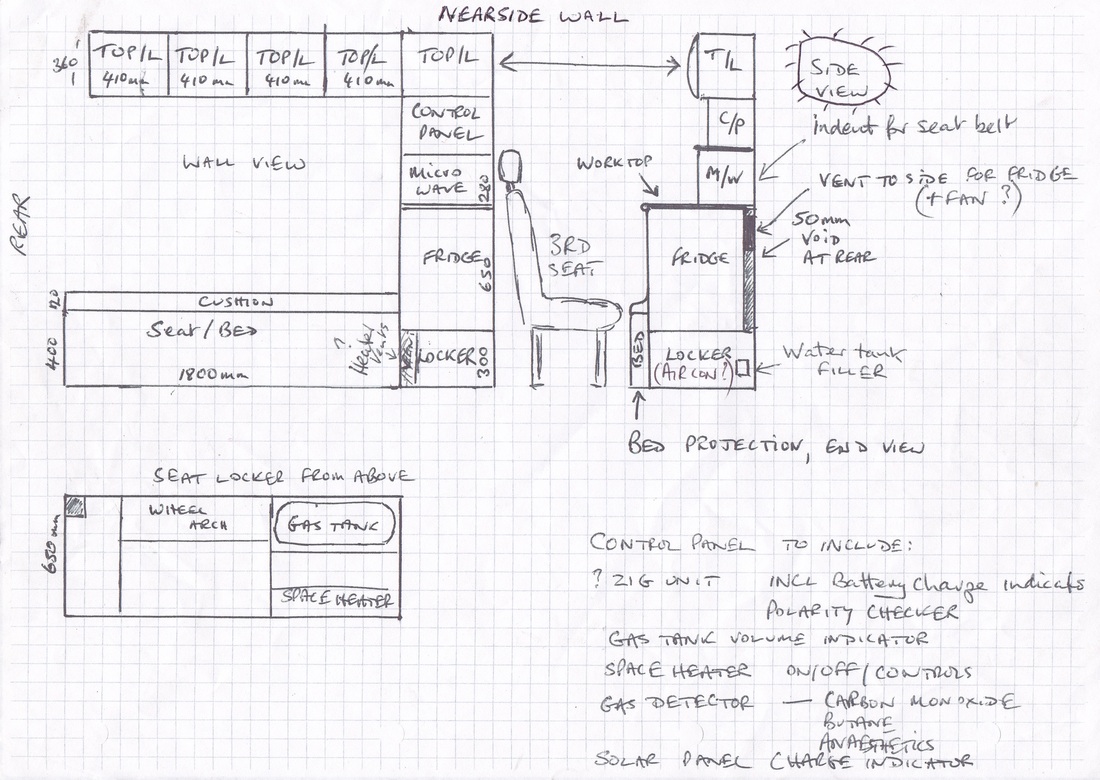
-to install a bulk propane tank inside the van,with a filling point in an inconspicuous place outside the van.
This can be filled up at LPG pumps at fuel stations,and a 30 Litre fill should last up to six weeks,according to accounts.Gas will be used to run the air heater,the water heater,and the cooker hob,although connecting up will come later.

Electrical system
Fit the wiring to install the following:-
-Leisure batteries(additional batteries to run 12v electrical equipment,fridge,LED lighting,water pump,toilet flush etc)
-240 v Hook up(to connect to mains power on campsites and halts)and to run the electrical parts of the air heater,and hot water heater.extra sockets will allow charging of equipment(although also possible through 12 Volt sockets )and to run the microwave
-Wiring for all of this(12 Volt and 240 Volt systems)
-To run all of this ,an ECU(Electrical Control Unit)is needed,with 12v fuses on the circuits,circuit breakers on the 240 system
-wiring to include coaxial cable for TV/satellite

The wiring will eventually be hidden by refitting the plywood panels,ply-lining the ceiling,and by the furniture.

Fit solar panels on the roof to provide auxiliary charging for leisure batteries(these are otherwise charged via the ECU by the van alternator when driving,and the 240 V hook up if connected at a campsite.)Solar panels will provide some versatility,and allow free camping for a weekend or so without need to connect up to external power.In particular,,having opted for a 12 V compressor fridge,this will be running all the time ,needing a constant trickle of 12 current.

Skylights
Being wary of cutting holes in my van at this stage,I have asked Jason to fit 2 small skylights,one for the living area,one for the bathroom,With security in mind,these will be small,30 cm squared,and will not allow entry if they are prised off.The will provide a little light,but are chiefly with ventilation in mind
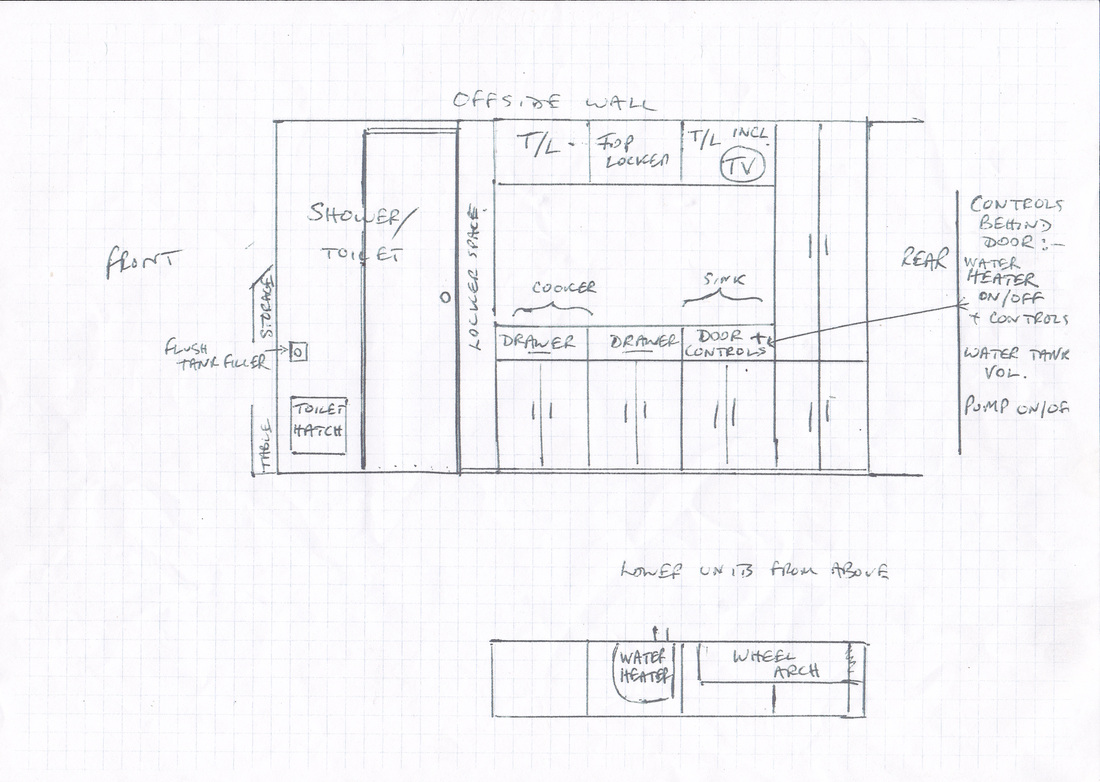
Water system 

to fit an 80 L  fresh water tank,slung under the van(CAK tanks ,that source of everything known to man for the camper convertor,do a bespoke one for Renault Masters) and a small waste water tank


Fitting Windows

19/5/2014

 
If you are lucky the van you buy has windows already. Mine didn't .I decided I wanted rear door windows,and a window in the sliding side door.As these are often added in the factory the van will retain the "stealth" appearance of a  working van .The sliding door window also greatly improves visibility to the left when at staggered junctions,and is invaluable for visibility when driving on the right in Europe.

I didn't fancy cutting huge great holes in my new pride and joy myself.I booked some  professional fitters who came,and did the job on my drive.Actually a relatively  easy task,I suppose,in retrospect-but one which if it went wrong would wreck the  van.Essentially they just used a  jigsaw,cut out the template holes in  the door panel ,already obvious from the build of the doors,and the window panes then go over the holes and are fixed with a quick setting glue.An hour later and it looks as though the job had been done on the production line.
Picture
Picture
One strip of masking tape is all that's needed to hold the pane on while glue drying

Insulation(part 2)

17/5/2014

 
Picture
The Airtec is easy to cut,  is light but rigid and can be bend to fit tightly inside each of the panel sections.It apparently works best if there are air gaps between layers.I have only sealed the sections around the edges so there is an air gap under most of the foil.

I plan to stick a layer to the underside of the plywood panels when I replace them,making that a double layer of Airtec with a sealed air gap between the two layers.

Despite the superior spec,it was apparent that on a hot day a single layer did still allow some heat to transfer through from the outside.Two layers on the walls and 3 on the ceiling will provide a decent insulation


Picture
The ceiling eventually will have a layer of thin plywood,but first it needs some wooden battens around the edge to make a smoothly continuous gentle arch,to allow application of gently curving 3mm ply over the new wooden and existing metal ceiling battens

Picture
Holding the Airtec in place while the glue dries needs lots of poles !
Picture
The light that turns on when opening the door,I will keep,but needs re-positioning from above the door,into the ceiling

Picture

Insulation

13/5/2014

 
Picture
The walls and ceilings of panel vans are very thin metal,with none of the insulation and fabric covering that you get in a car.Strength is provided by bulkheads.(The thin walls actually make it  easy to cut holes for windows,skylights and flues if you have a bit of confidence).Insulation is vital otherwise you will be extremely hot in the summer,and freezing in the winter.There is little point installing heating (I will be) unless the heat can be retained in the van.Also,with bare metal ,you get a huge amount of condensation in the  cold weather.My van came with a bare ceiling,and plywood paneled walls and floor,standard for a working van.There is no insulation beneath the plywood.Having read about the problem,one needs to be aware of conduction channels  that can defeat your attempt to insulate ,i.e. any metal or glass that is in continuity between the outside and inside,such as bulkheads,door surrounds,and windows,are channels for your heat to flee the van

Picture
The first step was to remove the plywood panels and the boxing from the wheel arches.Taking advice from a professional converter,I decided to leave the plywood floor alone.Seeing converters describing their work on brand new vans,I see it is usual to lay underfloor insulation if you are starting from scratch.(you have to be careful not to lose too much of your  headroom).However,the floor in my van is secured by multiple screws tapping through the metal floor.If they were taken  out,it would be unlikely I could get the screws back in the same holes,resulting in multiple unnecessary perforations through the floor*.With the panels removed,you can now see the walls are divided into "boxes".These are not regular shaped,and are of varying depths

*After using the van in fairly cold weather,it became apparent that the lack of insulation under the floor was a weak point.The floor felt very cold and must be a big source of heat loss.The problem was partially resolved by using some loose carpet floor runners and mats .If starting from scratch with a brand new van,laying something like Cellutex slabs under the floor panel would be a good idea,but check you don't lose too much headroom.

What to insulate with?
There seem to be 3 main types of insulation used by self-builders.
Picture
I . Rockwool,or other mineral wool  insulation roll.(or some have even used sheep's wool) I was told that these wool rolls,though easy to cut or tear,but difficult to hold in place while building, have the major disadvantage that they absorb and hold water,so if you have a leak,or condensation,you are likely to end up with rust problems in hidden areas.                                        
Picture
2) Cellutex ,or Kingspan. these are lightweight foam slabs,easy to cut ,but not flexible.A lot of people seem to use these,but I think that they are no use at all for my van walls and ceiling ,which are curved,irregularly shaped and which have sections of different depths .Trying to bend them round a curve often results in them breaking .Cutting to shape would be a nightmare


Picture
3) Silver foil lined "bubble wrap".Cheap varieties are used to go behind radiators in houses,but there is high spec stuff too,for  which the makers claim a single thickess (of about 4mm) has the same insulating properties as a 50mm cellutex panel.So I went for Airtec.Not cheap at at £90 per 50 metre roll,but 2 of them will be enough to do  several layers  for my van As it is so thin,light,and easy to work with,I plan 2 layers on the walls,and three layers on the ceiling.

Seats

11/5/2014

 
Picture
The double passenger bench seat needs to go.You can't squeeze past it to get into the front of the van.
Campervanning seems to be a hobby for couples:the greater proportion of converted vans seem to have  just two front seats,often on swivels,to form part of a "lounge area" in the forward section of the van.
I want to keep my options open,and have 3 seats so that the occasional family member or friend (or hitchhiker) can come too.This will have an added advantage of not needing to change the seating number on the DVLA registration document.The Renault Master seats have a nice big armrest-I wanted to get a matching seat to go on the passenger side.Various people suggested getting a second hand drivers seat,but the armrest on the left hand side would have to go,and the seatbelt  lock would be on the wrong side.The obvious answer is to source a Left hand drive Driver's seat from Europe.And while I'm at it why not two,with one extra driver's seat fixed in the rear,rather than a minibus type seat?The armrest will stop the passenger falling out sideways!


Picture
I hit on the idea of searching for seats online in Holland as I felt that I was likely to find I could speak English to any web contact I found.A little bit of searching  and I came up with Dennis Boomkamp Trading , Edisonstraat 11a, 7601 PS Almelo, Netherlands.What I'm looking according to Google Translate is bestuurdersstoel (driver's seat).A couple of emails,with a picture of my existing seats so as to get matching upholstery,a Euro bank transfer online,and 2 perfect second-hand seats arrived in a couple of days.Removing /replacing seats is child's play,you just need a spanner to undo the nuts at the four corners.There are fortunately no electronics issues to contend with such as airbag sensors or seat belt pretensioners,on these simple bench seats,and the single seat fits neatly over four of the five holes vacated by the bench seat,and is fixed using the same nuts.

The 3rd seat is to be fixed to the floor,alongside the sliding side door,in the position shown.This door will have a window.
An interesting fact is that the safety of seats are looked at in an MOT only with  factory fitted seats.if you add any to a private vehicle it's up to you whether they're done safely.But seeing as I might like the person sitting in this seat,best to get it fixed properly,with underfloor bolts/strengthening brackets.The seatbelt (sourced off Ebay,again)will fit nicely on the sliding door side stanchion.
Picture
Picture
One spin-off is that we now have a very attractive new hall seat!!.For some reason I am being threatened with it being taken to the dump.

A van with a plan

11/5/2014

 
Picture
Picture

First steps-removing the bulkhead

8/5/2014

 
Picture
Clearly .it is important to be  able to move from the front seats ,to the living area of the van,and vice versa,without getting out of one door and getting in through another .Fortunately the metal bulkhead is easily removable.


In this picture you can see I have started experimenting with a provisional layout defined by red sticky tape on the floor.


Picture
Bulkhead removed

The light is greatly improved,immediately.We have sacrificed the protection given to the driver and passenger from loose bits of load flying forward in an accident,but the furniture I will build will restore some of this safety barrier.Once the windows are cut in the back,the driver will also be able to see backwards while reversing.The windscreen has a slot for a rearview mirror to be added,any Renault mirror will fit.I got a Renault Scenic one on Ebay for a fiver.


All by Myself??

7/5/2014

 
Having thought about it,I think it is best to get some help in for certain aspects of the build.My joinery skills are pretty reasonable,but I would hesitate to install an all singing and dancing 240 V/12 V electrical system.Also a no-brainer is that the installation of the gas tank and the plumbing of the gas piping needs to be done by someone with experience.Surprisingly,regulation and certification of the gas installation is only needed if you are going to hire out your van.Otherwise you are able lawfully to DIY it.But I'm not going to mess with the gas.

Finally.I'm too chicken to cut the big holes in the walls of the van for the windows,and in the roof for skylights.It is perfectly possible for the amateur do do all of this.The van walls are thin,and you just need a jigsaw,and some special glue to stick the glass over the holes.But I don't want to risk disaster!

One consideration when getting some paid help in is that your conversion will end up costing a fair bit more,so to keep within some sort of budget  I have decided to ration the help to the essentials mentioned above,and I will try to do the rest myself

I will get the windows professionally fitted.

And for all of the help for the rest of the conversion,I have arranged for Jason Hunter, of West Country Camper Conversions ,in Clutton, to do all the things i don't dare to,

​

Planning and Specifications

6/5/2014

 
Picturea Glaring Pantechnicon of a vehicle:stands out like a sore thumb screaming"tourist"
It seems that virtually anything is possible when doing a self-build camper conversion.The reason for doing your own conversion as opposed to buying a professionally coach-built campervan is that you can choose exactly what goes into it ,the layout ,and level of luxury,but the overall aim is to get this done more cheaply than it would cost to have done professionally,or if simply buying an off -the -peg vehicle.That is,unless the main aim of the exercise just is the exercising  of DIY skills

The danger is that you risk getting carried away by the mass of equipment  available for self-builders to install in their vans, and end up spending the same,or more,and expending a lot more time and energy ,than would have been the case when buying a ready made camper.There are online shops selling self build enthusiasts absolutely everything they could ever wish for.

So what level of tech to install?
An important element for me was to create a "stealth" van,i.e a van containing enough elements needed for reasonable comfort inside,while from the outside retaining the appearance of a basic white van so as not to attract attention when parked overnight in town streets and supermarket car parks.I wanted to avoid the many hatches and flaps,filler taps ,exit taps,vents and exhausts,double glazed obvious "camper" windows,and especially, swirly logos that you see on the sides of all commercially made and many self-build  campers.


PictureStealth Fighter-the inspiration!
The van will have to be equipped to provide some comfort during city breaks or trips in the cooler months,and also provide facilities to survive with enough power and heat,without mains hook-up if free-camping a couple of days.But also to have hook-up facilities to enable generous power usage if on a campsite.

All camper vans  need seats,and a bed;usually the one converts from the other.
And cooking facilities:I wanted a kitchenette with gas hob,and kitchen sink,fridge and a microwave to add some versatility to the cooking (adds the option of microwaveable ready meals,including frozen ones if the fridge has a freezer compartment, to provide a reasonable standard of cuisine !)

To ensure comfort while camping away from sites I want a separate washroom cubicle,with sink and shower,and featuring a cassette toilet for ease of emptying.For hot water for the kitchen sink I suppose you could just boil water in a kettle for washing up-but because of  the shower/washroom I will need a  proper water heater and so aim to fit one.

Finally I want some air heating as well ,to keep warm in cooler times of year.


PictureThe imaginary success of a Stealth camper-hiding in plain sight !!
From my experience I would stress that it is really important to spend loads of time both inside and underneath your empty van measuring,measuring and measuring again,while browsing all the kit available online,to check what will fit,while keeping enough space for the all-important 6 foot bed/bench seat and table.

Everything you choose needs its site planning extremely carefully.For example gas or diesel heaters need exhaust vents,often through the floor  of the van if you are aiming to avoid cutting big holes in the walls.Any compartment in the van where there is gas appliance needs a "drop-out" hole so that any leaking gas will exit the van.Using gas means you need to think of your  supply-do you use freestanding disposable propane ?(eg campinggaz),or refillable "gaslow" LPG on board bottles,or an under-slung LPG tank? Do you put your fresh water tank on-board(less likely to freeze in really cold weather but takes up considerable space) or under-slung beneath the van(a better centre of gravity,less precious space taken up  inside the van,and it is possible to get an anti-freezing heater to winterize an under-slung tank if you are planning ski trips,for example)

Invariably,the first place you think of placing an item turns out to have a piece of chassis underneath just where you would need to place a necessary drain or water/gas intake through the floor,or a piece of bulkhead just where you would need cut a vent through the wall.
Your under-slung fresh and waste water tanks,and gas tank ,will add to your fuel tank, vehicle cabling ,chassis structures  and spare wheel  under your van to create a whole host of "no-go" areas for drilling holes through the floor above !    All this needs very careful planning, and careful studying of the exact dimensions and schematic diagrams of appliances you are thinking of purchasing.


    Renault Master campervan self-build

    Archives

    August 2015
    February 2015
    January 2015
    December 2014
    November 2014
    August 2014
    July 2014
    June 2014
    May 2014
    April 2014

    Categories

    All

    RSS Feed

Web Hosting by iPage