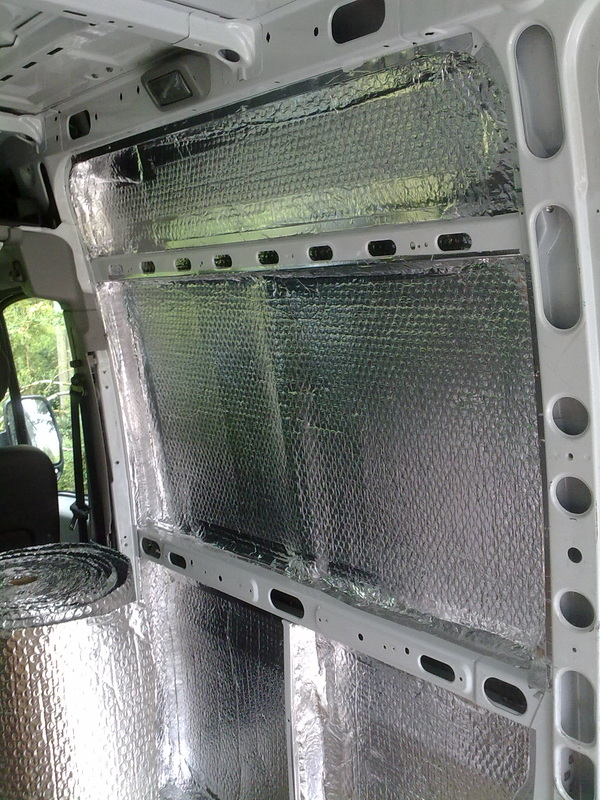
The Airtec is easy to cut, is light but rigid and can be bend to fit tightly inside each of the panel sections.It apparently works best if there are air gaps between layers.I have only sealed the sections around the edges so there is an air gap under most of the foil.
I plan to stick a layer to the underside of the plywood panels when I replace them,making that a double layer of Airtec with a sealed air gap between the two layers.
Despite the superior spec,it was apparent that on a hot day a single layer did still allow some heat to transfer through from the outside.Two layers on the walls and 3 on the ceiling will provide a decent insulation
 The ceiling eventually will have a layer of thin plywood,but first it needs some wooden battens around the edge to make a smoothly continuous gentle arch,to allow application of gently curving 3mm ply over the new wooden and existing metal ceiling battens 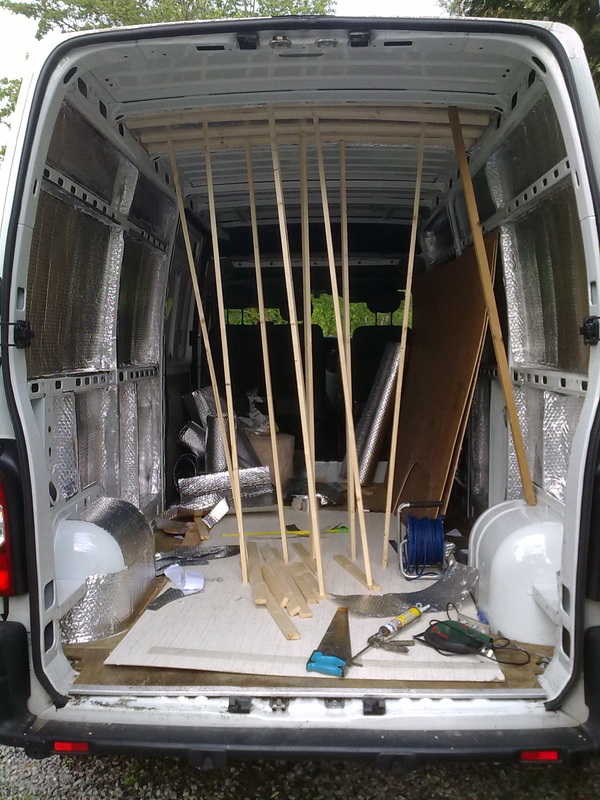 Holding the Airtec in place while the glue dries needs lots of poles ! | 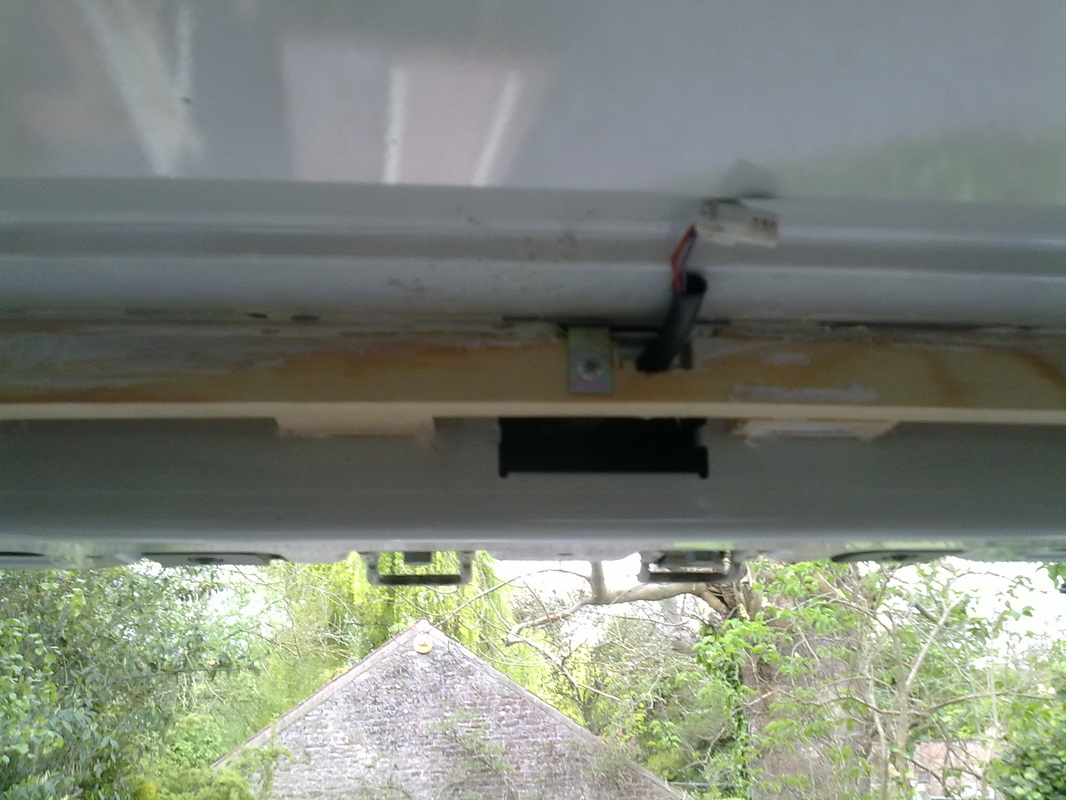 The light that turns on when opening the door,I will keep,but needs re-positioning from above the door,into the ceiling 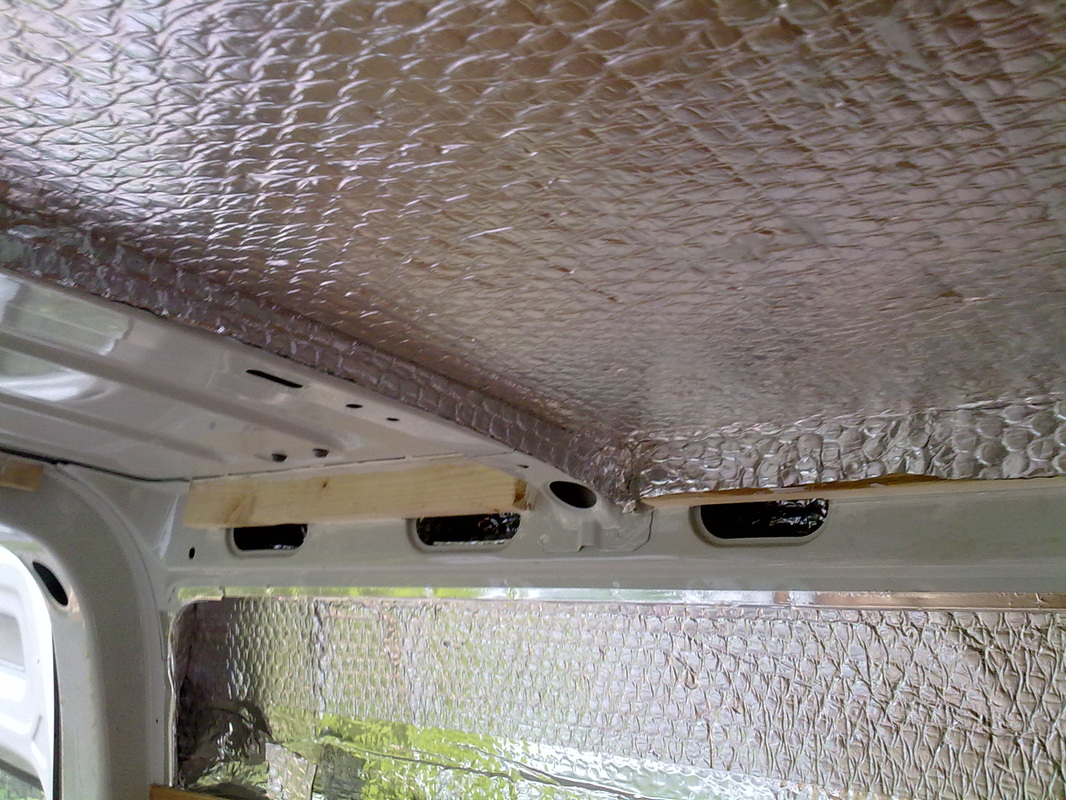 |
 RSS Feed