
I decided to keep the original ply lined floor in situ,as it was in good condition.A big advantage was not having to remove it,and fill in all the screw holes--but a disadvantage in that there was no insulation layer underneath it, which you ought to add if starting from scratch with a new van.
There were a number of cut-outs in the existing floor board, revealing load fastening rings.Discs of ply needed cutting to fill the holes.Some of the load rings could be unscrewed,and were saved and transferred to factory-set holes available on bulkheads near the door,and behind the seats. These may well be useful for securing internal loads such as a bike,for transit.
There were a number of cut-outs in the existing floor board, revealing load fastening rings.Discs of ply needed cutting to fill the holes.Some of the load rings could be unscrewed,and were saved and transferred to factory-set holes available on bulkheads near the door,and behind the seats. These may well be useful for securing internal loads such as a bike,for transit.
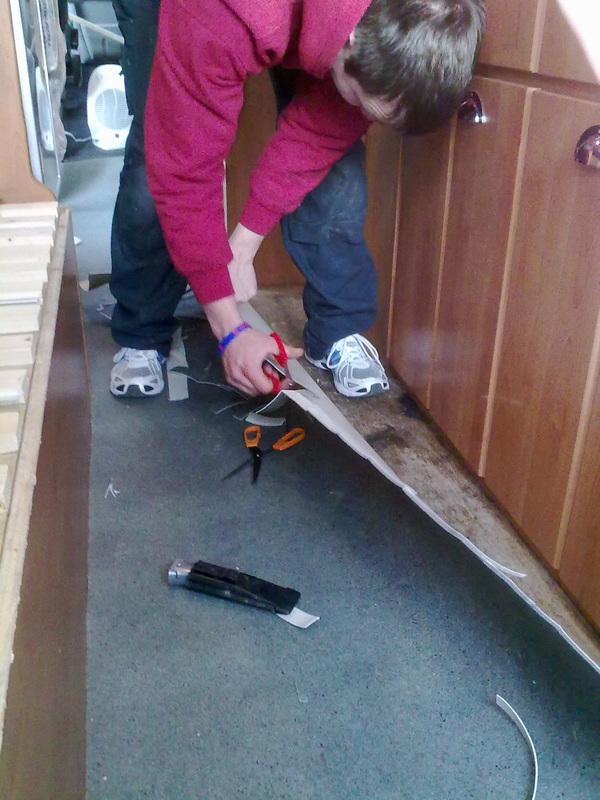
Medium duty non-slip hospital-grade vinyl flooring sheet was fixed,once the furniture build was complete.This was a bit of a nightmare to cut out and install in one piece ,due to the irregular shape of the furniture, seat, and washroom,on left and right. Enormous time was taken carefully measuring a template but it was worth it in the end as the single sheet could be hauled and manoeuvred round all the bends and obstacles ,and stuck in place perfectly with the help of some final trimming.
Heat resistant vinyl glue was used.I don't want it peeling off if I do end up anywhere hot in the van(I'm thinking 30 degrees +)
 RSS Feed