Specification required:-I need a toilet and full washing facilities to enable reasonably civilised camping off-site.Washing in the kitchen sink will not be necessary!
Thus I have installed a flushing toilet with cassette tank,a sink and a shower,all within its own waterproof "wetroom" cubicle.
Thus I have installed a flushing toilet with cassette tank,a sink and a shower,all within its own waterproof "wetroom" cubicle.

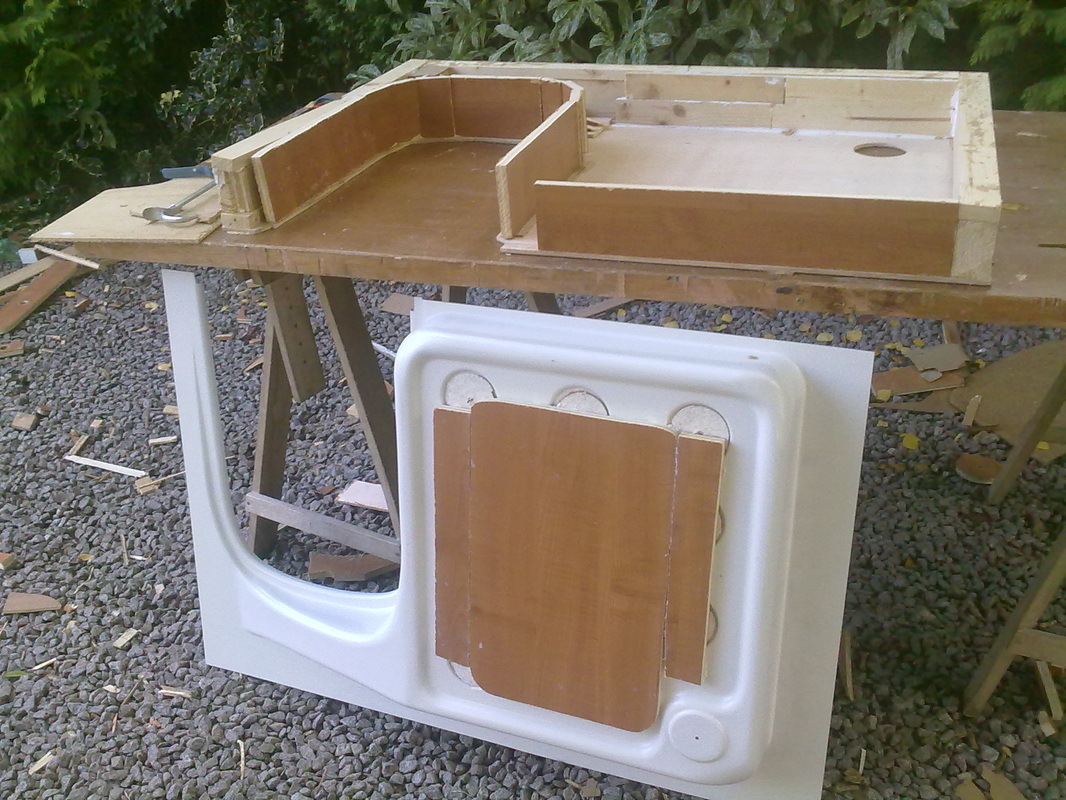
The start---the floor of the washroom.The toilet is designed to fit exactly into the cut-out section.
The biggest challenge of this section of the project was to find the best location,given that there is a fixed drain hole(top right in picture).The base will need to be located to allow free flow down the drain(through the van floor)so care has to be taken to locate all underfloor structures,and map them out on the upper side of the floor.Having decided to site the washroom just behind the drivers seat,and have the toilet cassette hatch open,rather unusually,inside the van,as opposed to through a hatch in the van wall(in keeping with the "stealth " image of the van),there were not too many options.In the end I found a place where the drain fell unimpeded,but only 3 inches from the exhaust pipe.Ultimately,a metal heat shield was added next to the exhaust,to protect the plastic drain.
The biggest challenge of this section of the project was to find the best location,given that there is a fixed drain hole(top right in picture).The base will need to be located to allow free flow down the drain(through the van floor)so care has to be taken to locate all underfloor structures,and map them out on the upper side of the floor.Having decided to site the washroom just behind the drivers seat,and have the toilet cassette hatch open,rather unusually,inside the van,as opposed to through a hatch in the van wall(in keeping with the "stealth " image of the van),there were not too many options.In the end I found a place where the drain fell unimpeded,but only 3 inches from the exhaust pipe.Ultimately,a metal heat shield was added next to the exhaust,to protect the plastic drain.
Building the supports for the shower tray-this needs to be strong enough to support someone standing in the shower or sitting on the toilet.
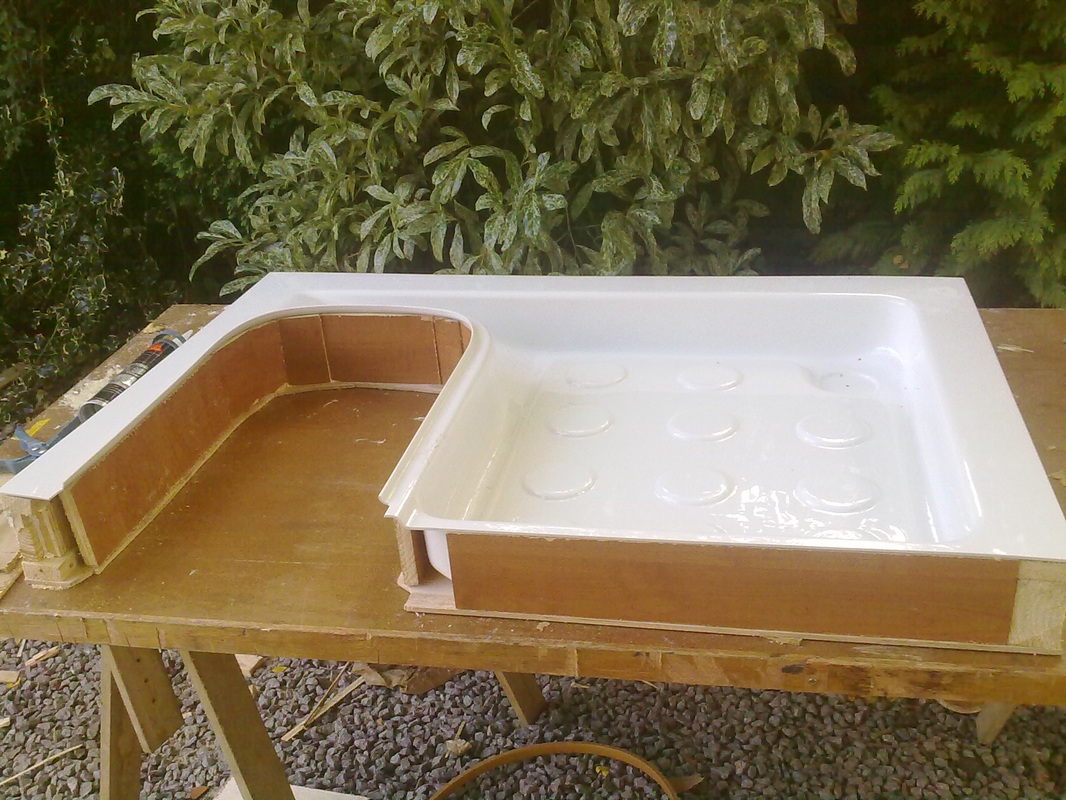
Perfect fit !
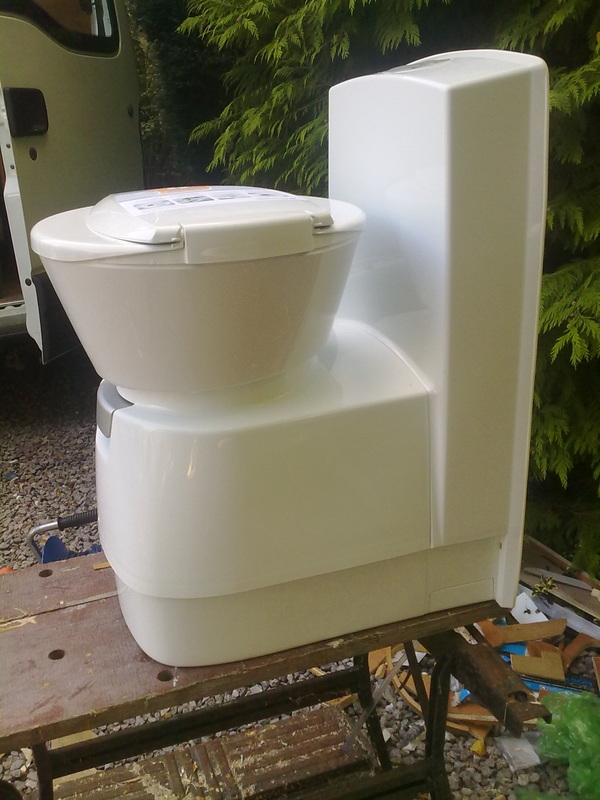
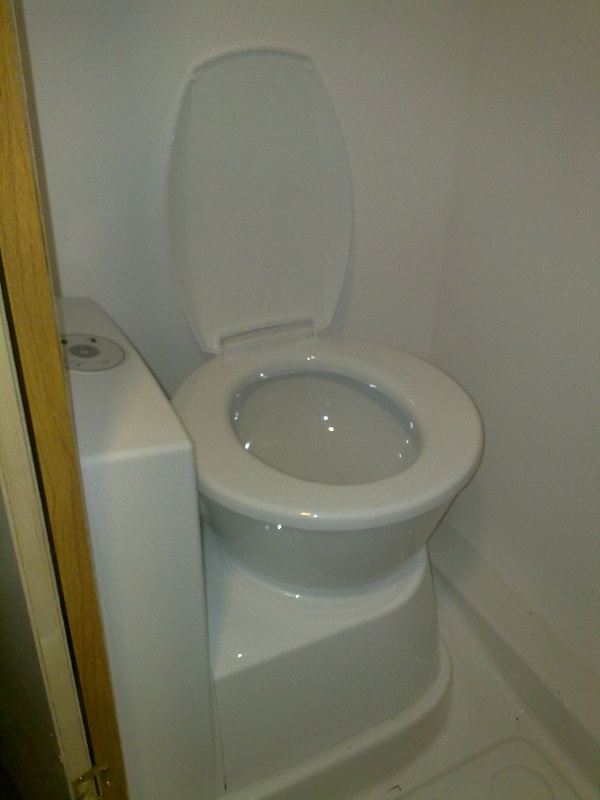
The throne ,a Dometic CTW 4110 Cassette Toilet :-
From the seller's website-
"Identical with household toilets in shape, height and material these toilets offer top comfort".
The toilet has a lightweight ceramic bowl(although the rest is plastic),a flush tank with electrically operated flush,and the bowl can be rotated 90 degrees,which is vital for my washroom design.The toilet has a chemical holding tank(cassette) that is pulled out of the void beneath the toilet when it needs emptying
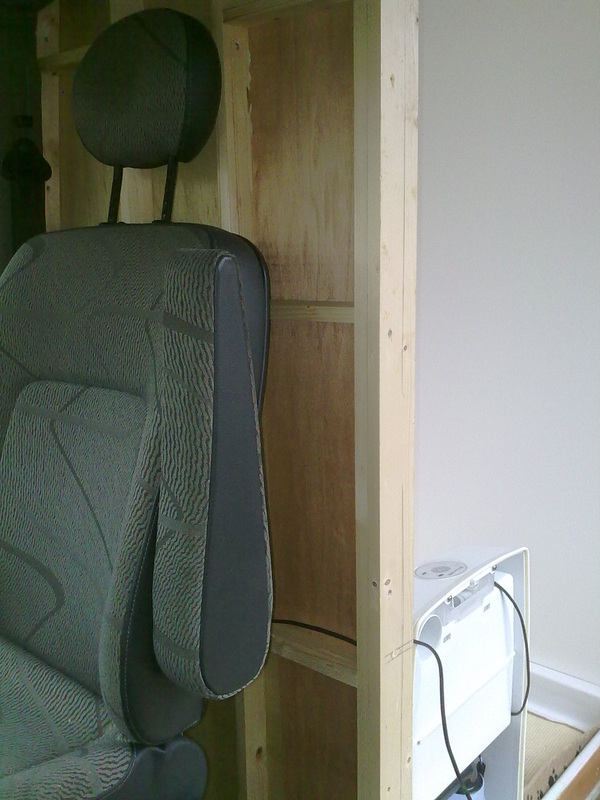
The tray has been fixed,and the sidewalls have been constructed as stud walls.3mm maple colored ply will line the outside,while sheets of white PVC coated 3mm ply line the inner walls.
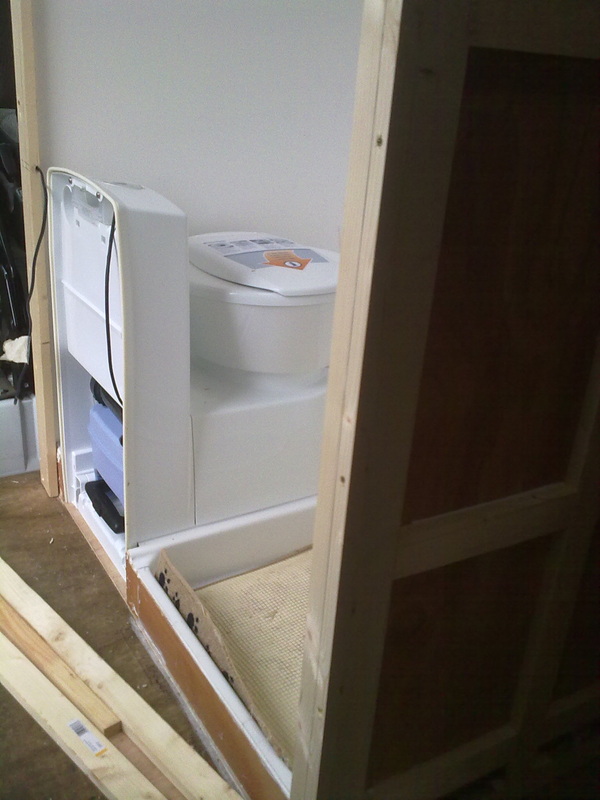
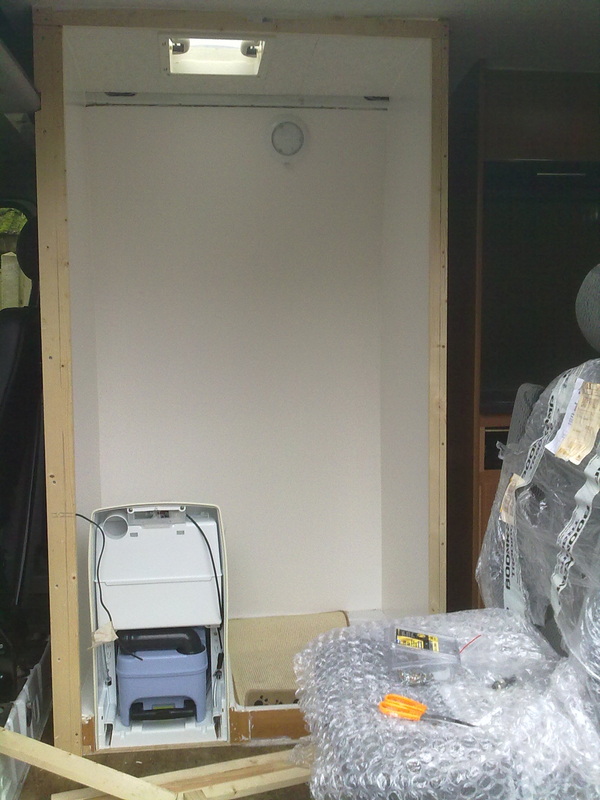
The toilet resting in place,the main wall will need constructing before it can be fixed.The blue cassette is visible
In the pictures below,the previously fitted skylight is visible,also the waterproof LED wall light.
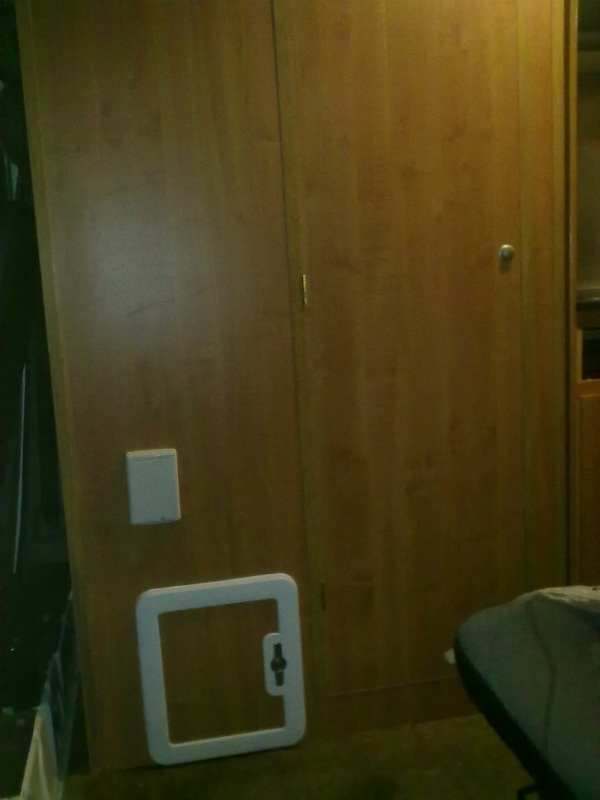
The door needed constructing from scratch,using the same materials as the walls.The two white doors are (above ) the filler point for the flush cistern reservoir,and (below) the waste cassette door.
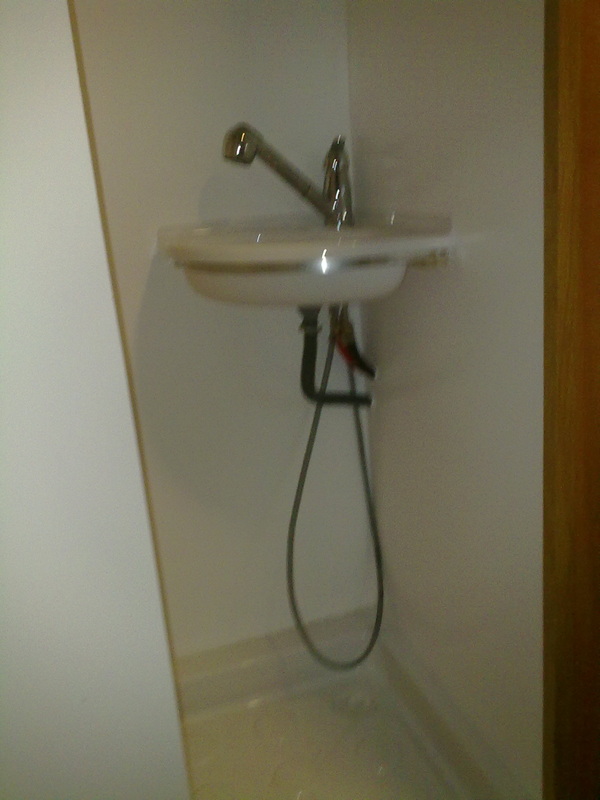
The sink basin is plastic,with a single mixer tap connected to the van's hot and cold pumped water.The tap head pulls out on a hose and can then be slotted into a shower rail.
The waste water from the sink runs out to join the kitchen sink waste,and into the underfloor holding tank.It proved impossible to connect the shower tray waste to this,so this will either discharge directly onto the ground,or into a strategically placed receptacle.
The toilet resting in place,the main wall will need constructing before it can be fixed.The blue cassette is visible
In the pictures below,the previously fitted skylight is visible,also the waterproof LED wall light.
The door needed constructing from scratch,using the same materials as the walls.The two white doors are (above ) the filler point for the flush cistern reservoir,and (below) the waste cassette door.
The sink basin is plastic,with a single mixer tap connected to the van's hot and cold pumped water.The tap head pulls out on a hose and can then be slotted into a shower rail.
The waste water from the sink runs out to join the kitchen sink waste,and into the underfloor holding tank.It proved impossible to connect the shower tray waste to this,so this will either discharge directly onto the ground,or into a strategically placed receptacle.
 |  |  |
 |  |  |
Issues during use.
I was rather concerned that having the hatch for removal of the toilet cassette inside the van would lead to smells.However,there were no smells leaking into the van at all,even in very hot weather.Removing the cassette is also a clean process;although I took the precaution of laying a sheet of newspaper down the first time I puled a full cassette out,this was not necessary,and the chamber inside also remained clean.The only thing I would recommend is to empty the tank at intervals of at least a fortnight,even if not much used.I left it a month once,and a bit of a pong developed in the washroom,although this cleared very quickly following a tank empty and opening of the skylight.
The shower worked brilliantly: the proved to be enough room to shower standing up in the cubicle although the best technique was to hold the shower head in ones hand the whole time rather than put it in the holding rail.The shower tray was rather slow to drain,even if the van was exactly level.Usually it was necessary to push residual pooled water in the gulleys towards the plughole with a cloth after taking a shower.
 RSS Feed