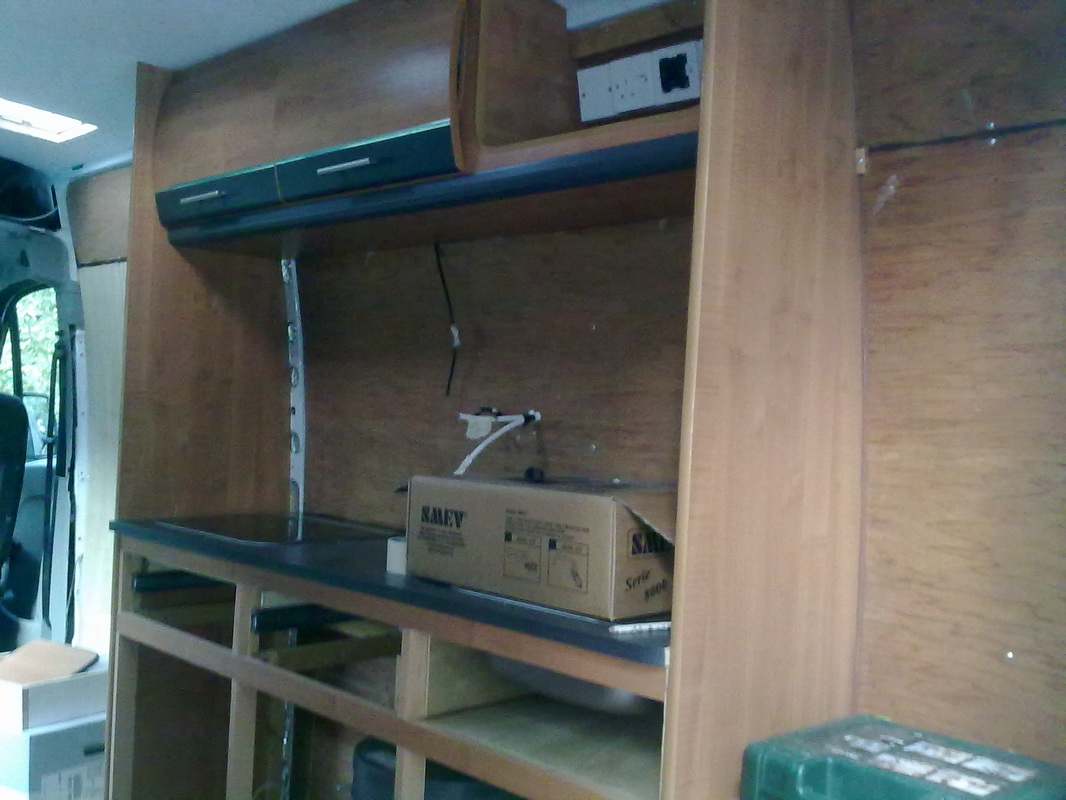
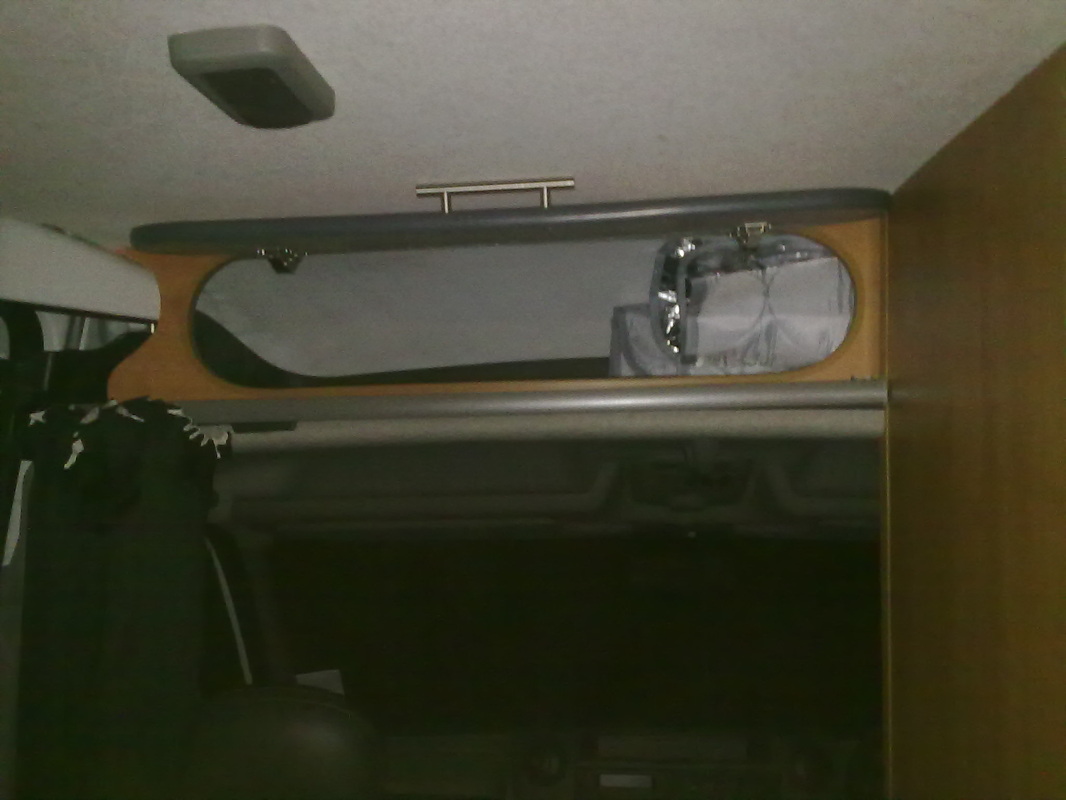
  I had to make the door for the void above the cab.There is just a narrow entry,but a huge storage space:half of it hidden from view by the washroom. 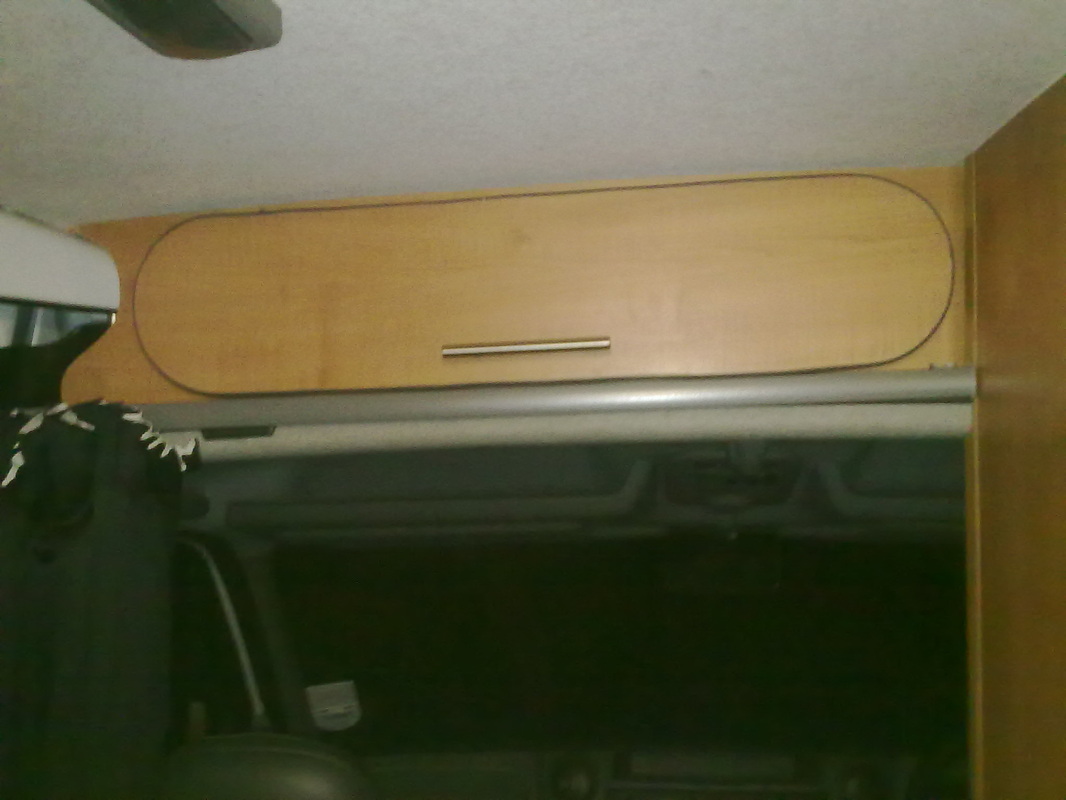 | 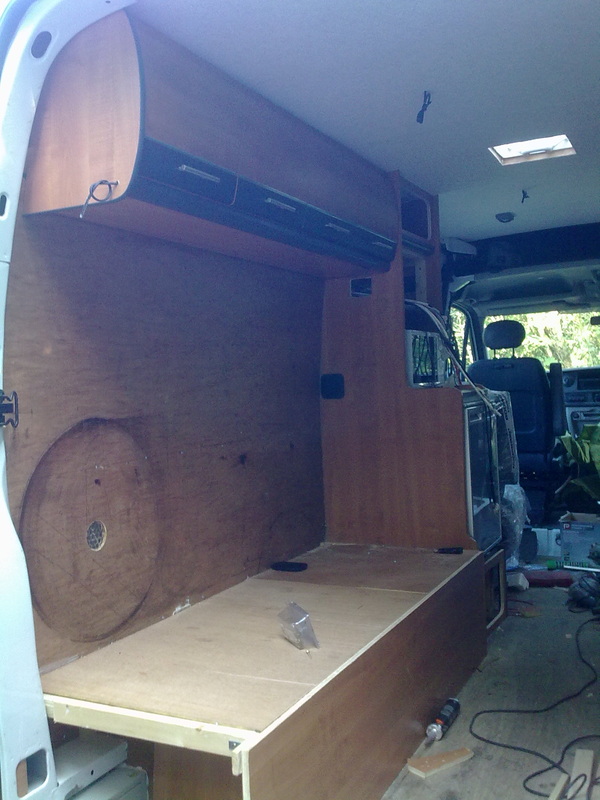 The top cupboards were build with a rear frame of 18mm x 44 mm pine with sides and bottom of 15mm lightweight ply,and screwed into the convenient metal bulkhead running at about the height of the handles,all along the sides of the van.The doors are commercially available and give,I think,a really professional "look" to the units. 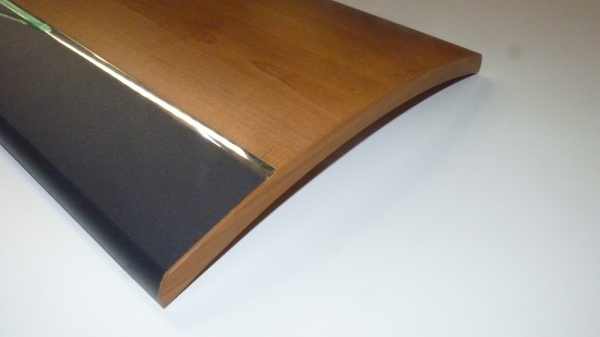 |
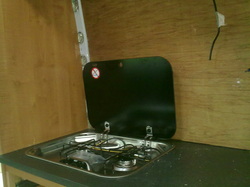
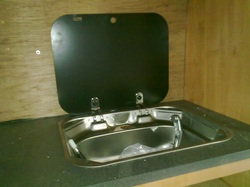
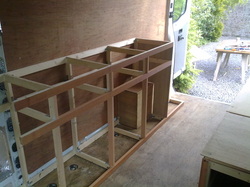 Frame is made of 20 mm x 42 mm pine,visible edges faced with stick-on veneer.The plan is for 3 drawers,with cupboards beneath,topped with a kitchen worktop in which will be set the gas hob and sink.The cupboards will be partly for storage but will have to be occupied by the water heater,pump and associated plumbing.Space is also limited by the wheelarch 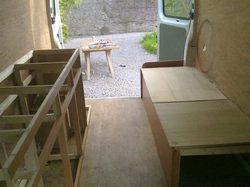 Careful measurement results in the kitchenette having to be much narrower than in a home kitchen,just 40mm.This allows for the central walkway giving the ability to walk right through the van,and is exactly the right width to allow the top of the bed to slide out over it to make a double bed. A removable table ,set in the floor,will be usable from the bed seat Some builders build right across the back of the van.This gives some advantage in making maximum use of space,but you have no back windows to look out of,(either to look at the view or to aid reversing !)and you lose the versatility of being able to get in and out of the van by both the sliding door or the rear.Instead,I went for a walk-through layout.I imagine that parked up with a view over the beach,I will be able to sit in the van on a warm day with the doors wide open.Here's hoping! 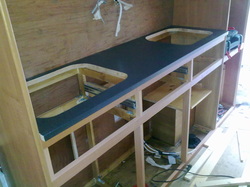 Worktop in place,and 15 mm laminated ply sheets making the wardrobe at the rear and the bulkhead at the fore.these are scribed to exactly fit the curved profile of the walls.A somewhat challenging task,needing a template to be carefully constructed from waste 3mm ply sheet,and cardboard. 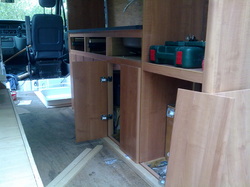 Cupboard doors going on.The basic structure was planned with the width of the doors in mind
An original idea I had when dreaming up the plan,was to get some second hand mattresses from an old caravan.I rapidly worked out that a) these would be grotty,and b) due to the critical dimensions of my build,the mattresses and cushions were going to have to be bespoke. These were not cheap,but I think that the end result is definitely worth it.  The first step was to choose some foam.As with every step in this project,there proved to be a huge choice,and choosing foam is a science in itself.Which thickness?which type of foam.?firm,soft?-you need a fairly firm bench seat to sit on,but if you have to lie on it at night it must be soft too.You can even get bespoke "sandwiches" made,with a layer of memory foam on a firmer base.I used www.foamcut2size.co.uk who are conveniently in Bristol,and I was able to lie on several offcuts on the warehouse floor before making a choice. 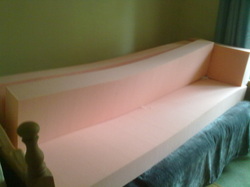 Sections of 14cm thick foam,at home,in need of covers. The biggest section is the seatbase/single bed mattress.The two narrower strips can serve as a seat back,but two of them together form the double bed mattress when the bed is extended.There is one small section as an end rest,but serves as the small extra piece of mattress for the bed extension section.  Bespoke covers were also made by a local Bristol firm.Actually,they could have supplied the foam too,but I was not to know this at the time. 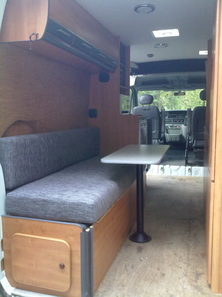 The foam has all been covered in a hard-wearing grey upholstery pattern. 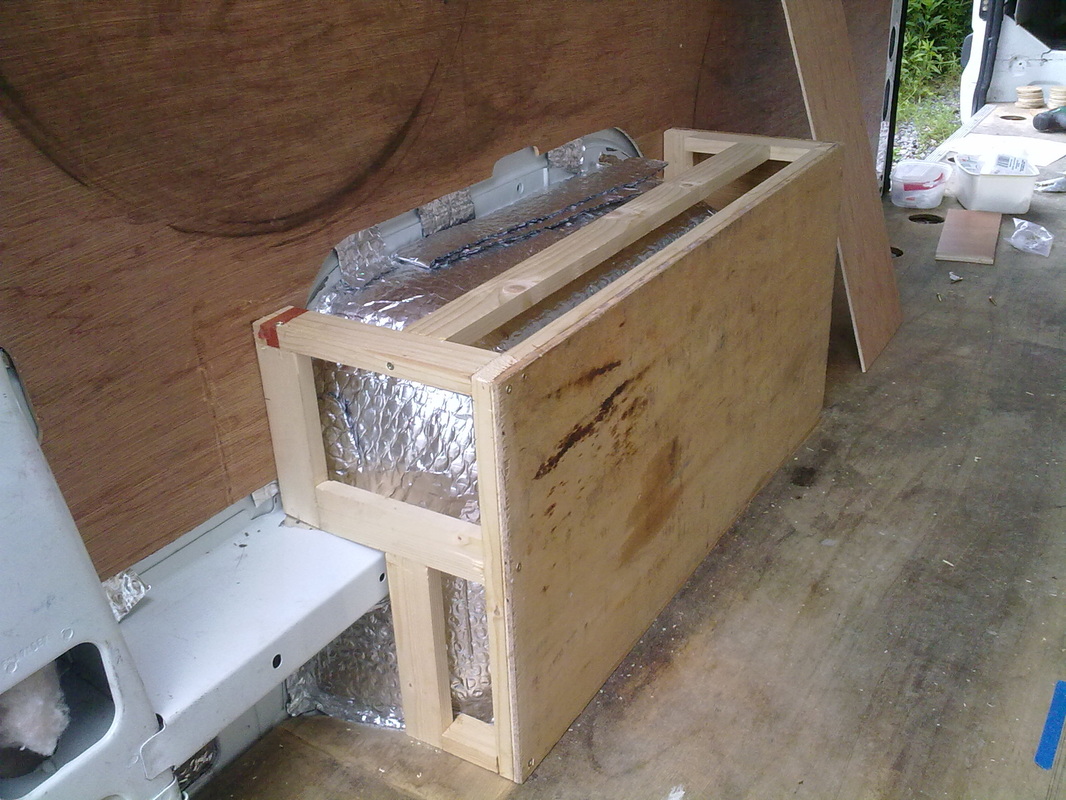
Boxing in the wheel arch ...
the black circle on the ply lining is where the spare wheel lived.This will have to find a new home,slung under the van. 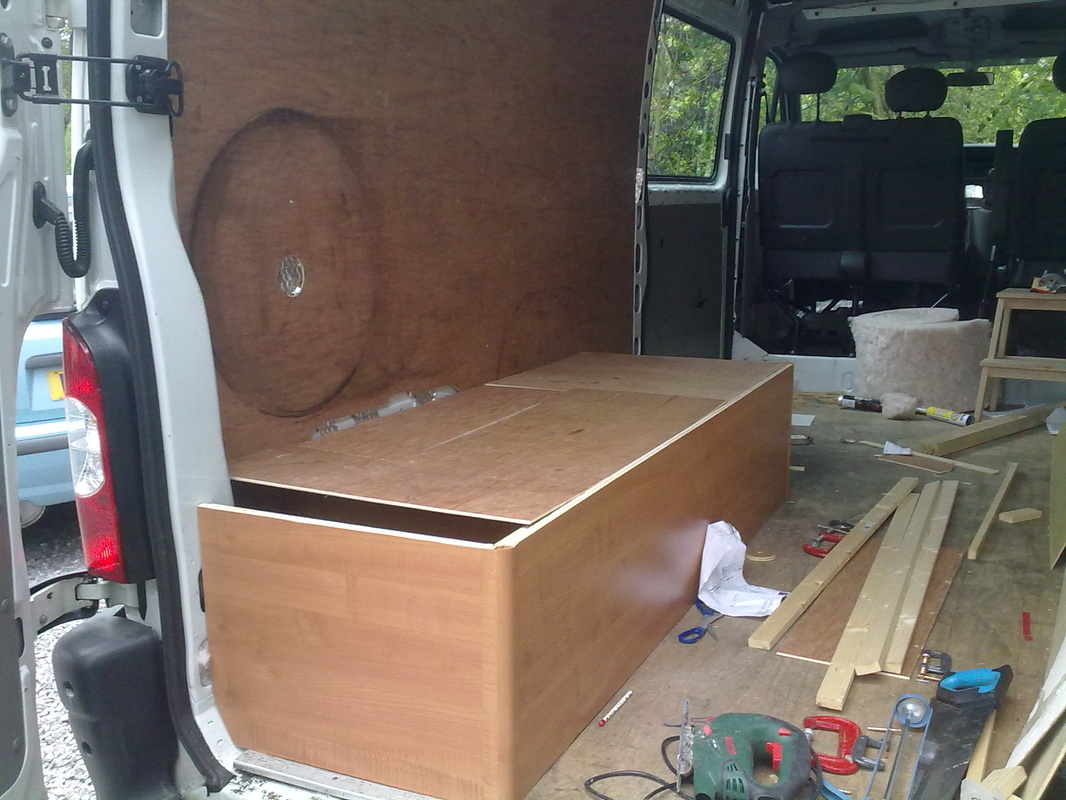
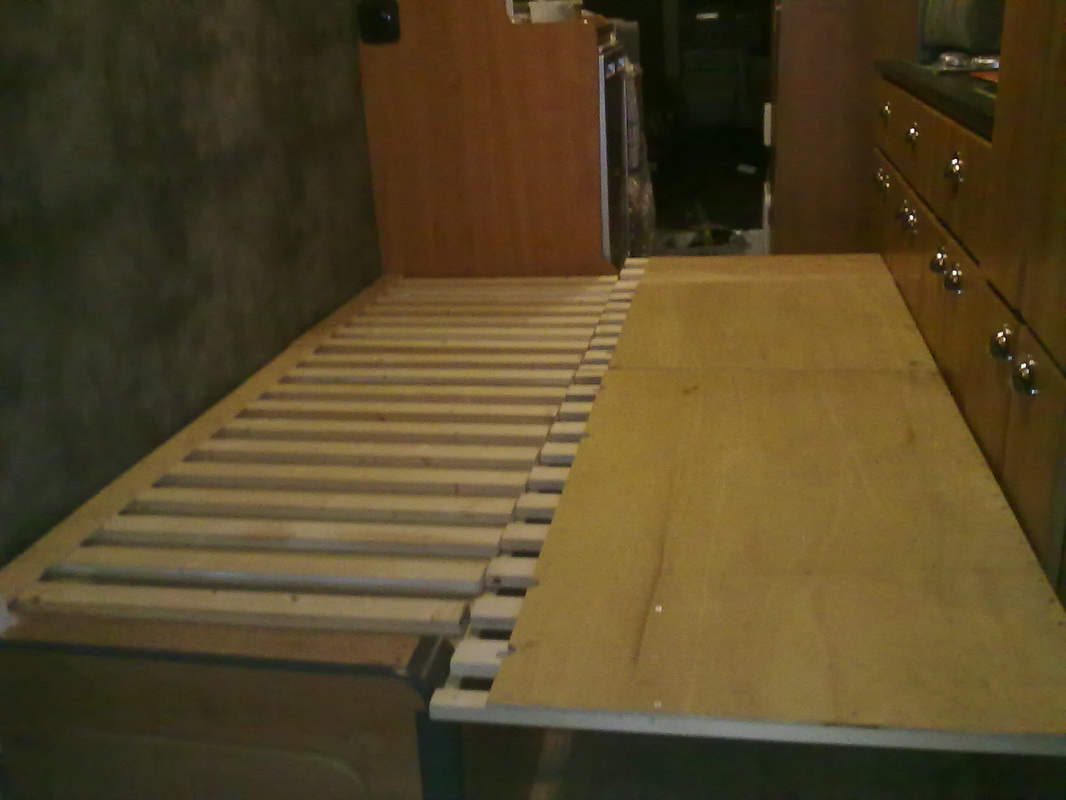
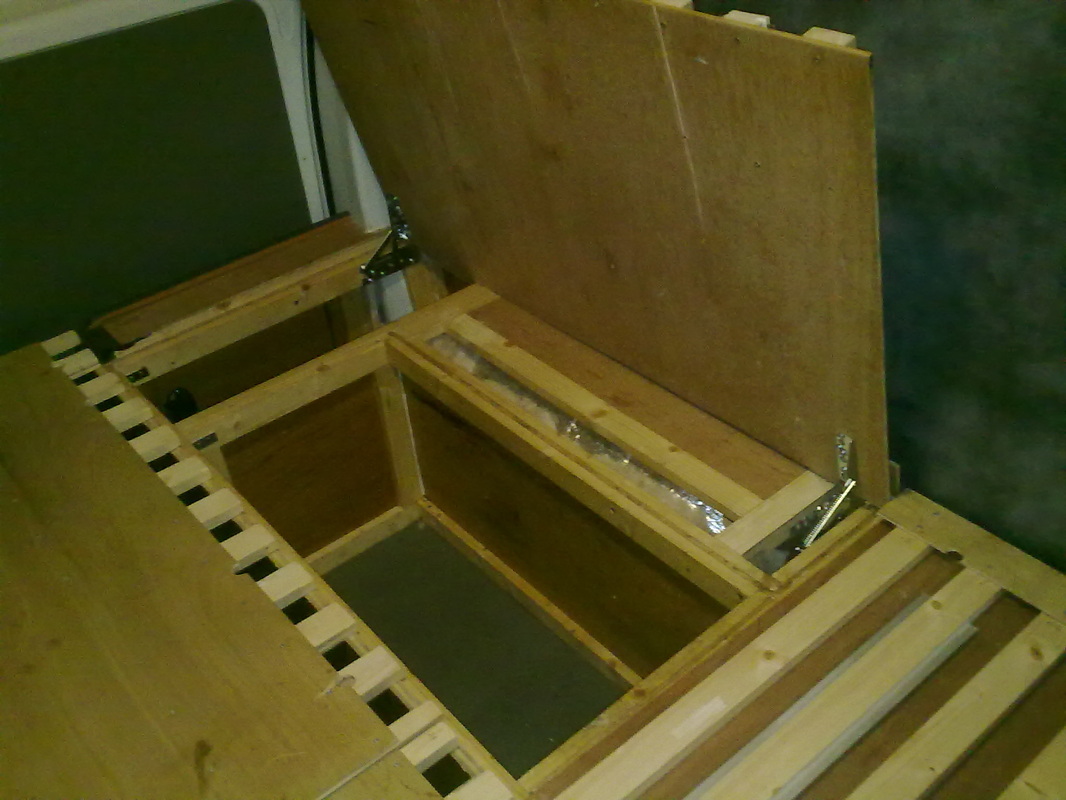
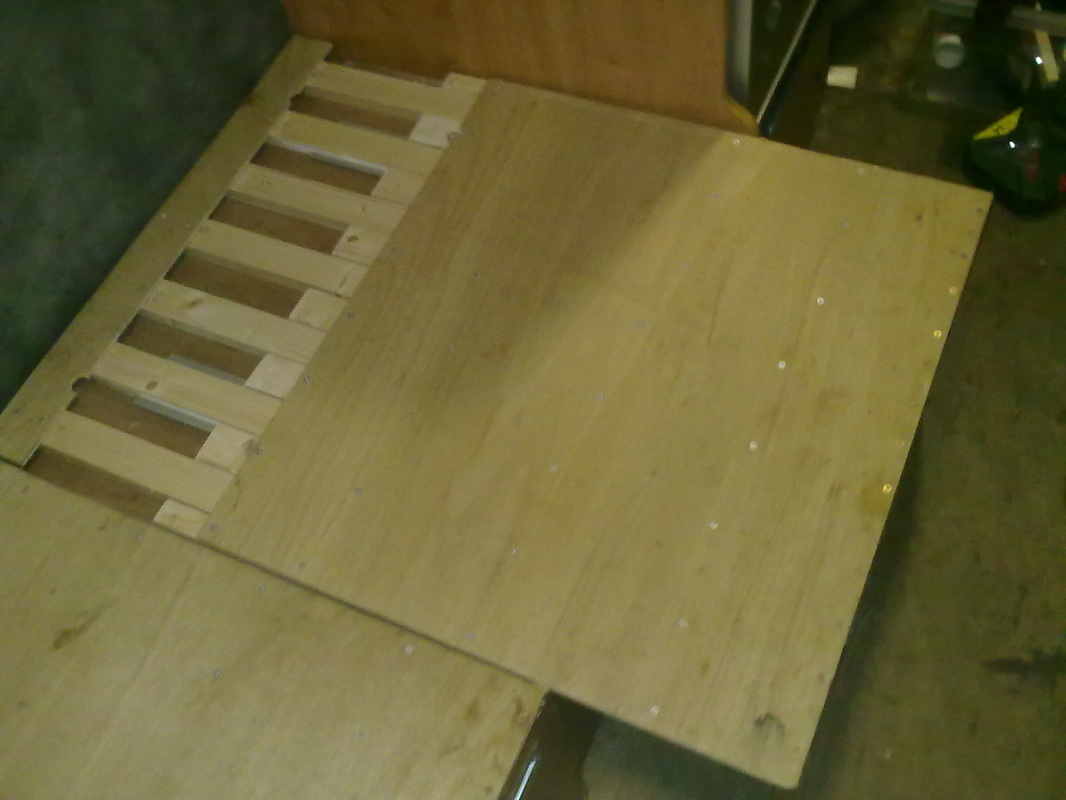
...and the constructing the bed base.This will have a storage box out from the wheelarch,,another area to the fore boxing in the gas tank and heater,both accessed by lift-up lids,having pullout layers which when both pulled out form into a double bed.Finally another section to the rear,accessed both through the lift up lid,and via a door at the back, designed for shoving in any dirty/wet gear.I have used special lightweight sheets of laminated 15mm ply for the decorative panels,(these are fully structural too)and 18 mm x 44 mm pine for the structure,with 5mm ply for the lids (supported by more strips of 18 x 44 mm pine)
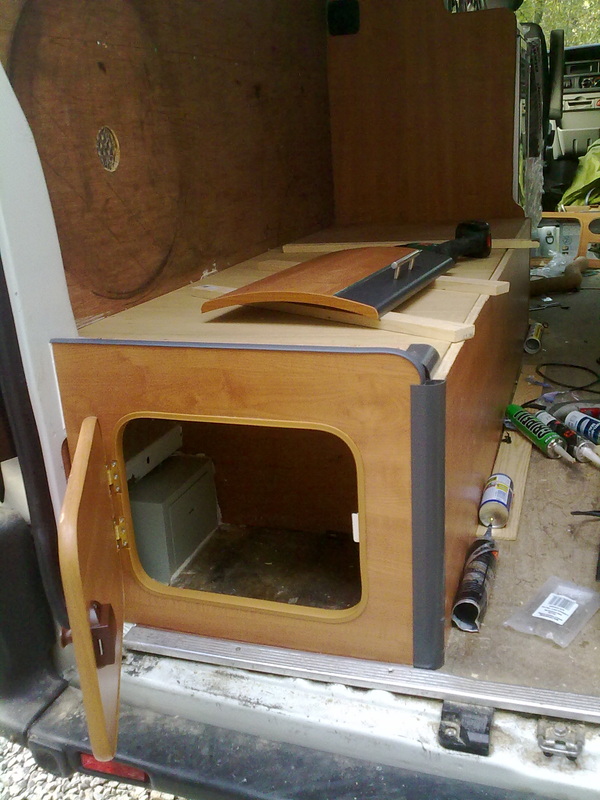
Door hole cut out ,door installed.It's easy to make neat looking holes using special plastic trim round the edge. Another type of trim slots into a groove round the edge of the door.
(Thanks to Rickvanman for his advice on Youtube clip below)
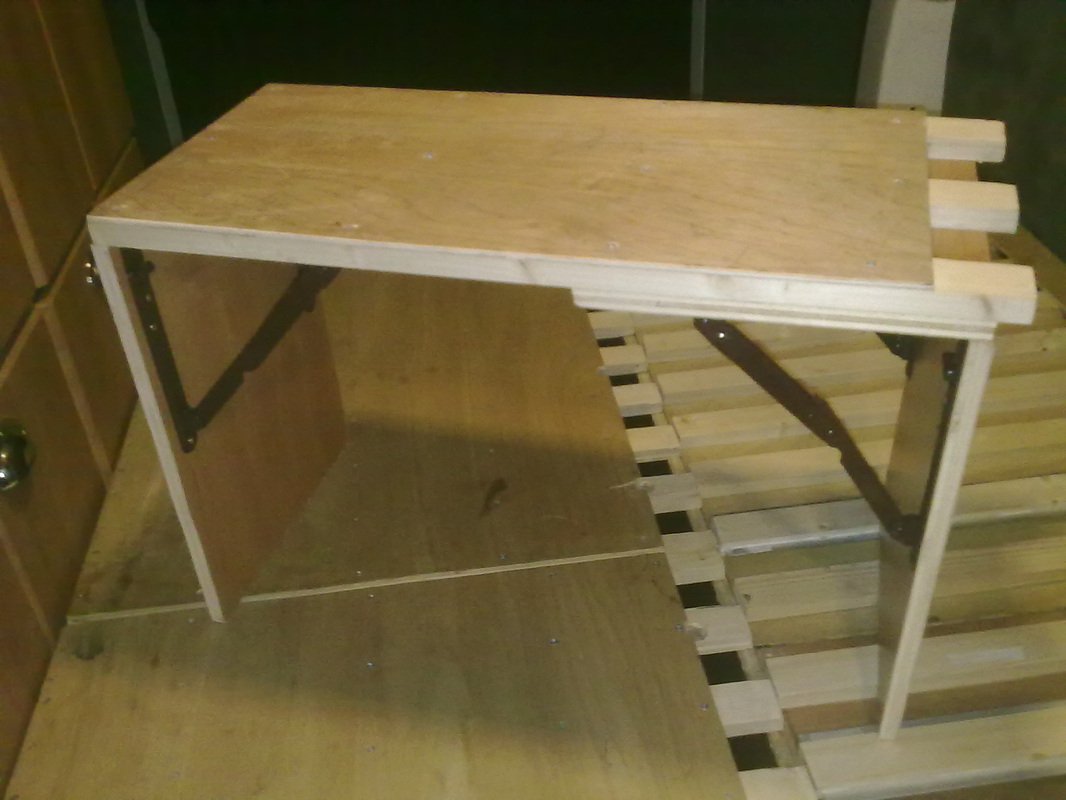
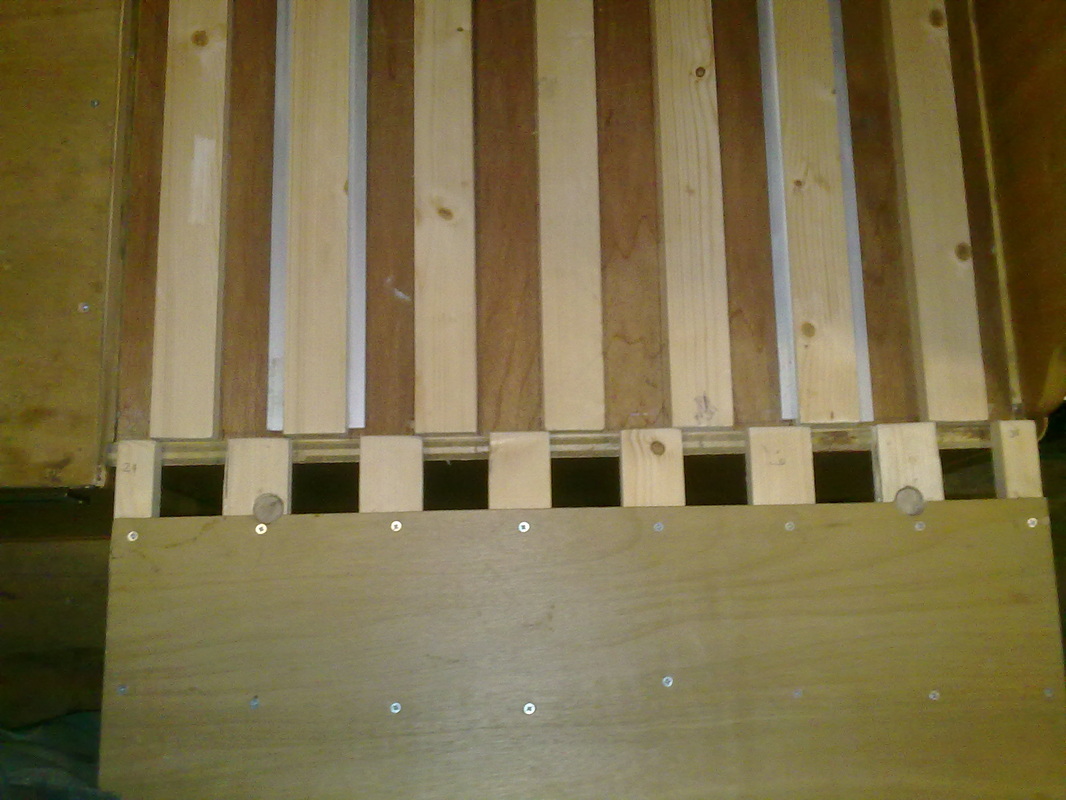
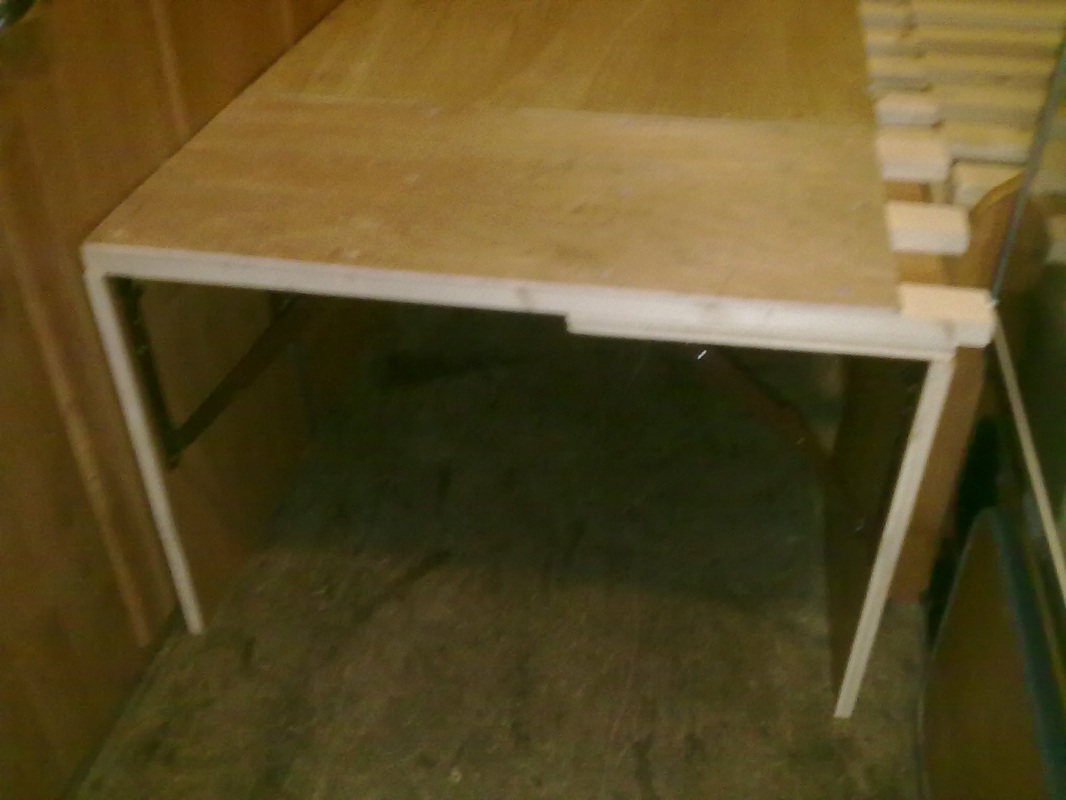
Finally,because the slide out sections could not be quite as long as the stationary side of the bed,owing to the rear door bulkhead,a small extension piece was needed to lengthen the slide-out half of the bed.Both the main slide-out sections,once released from the stationary part ,can slide either fore or aft.The extension can be added on the end of the 2 main sections,or slipped in the middle.It has collapsible support brackets and can be folded down and stored away
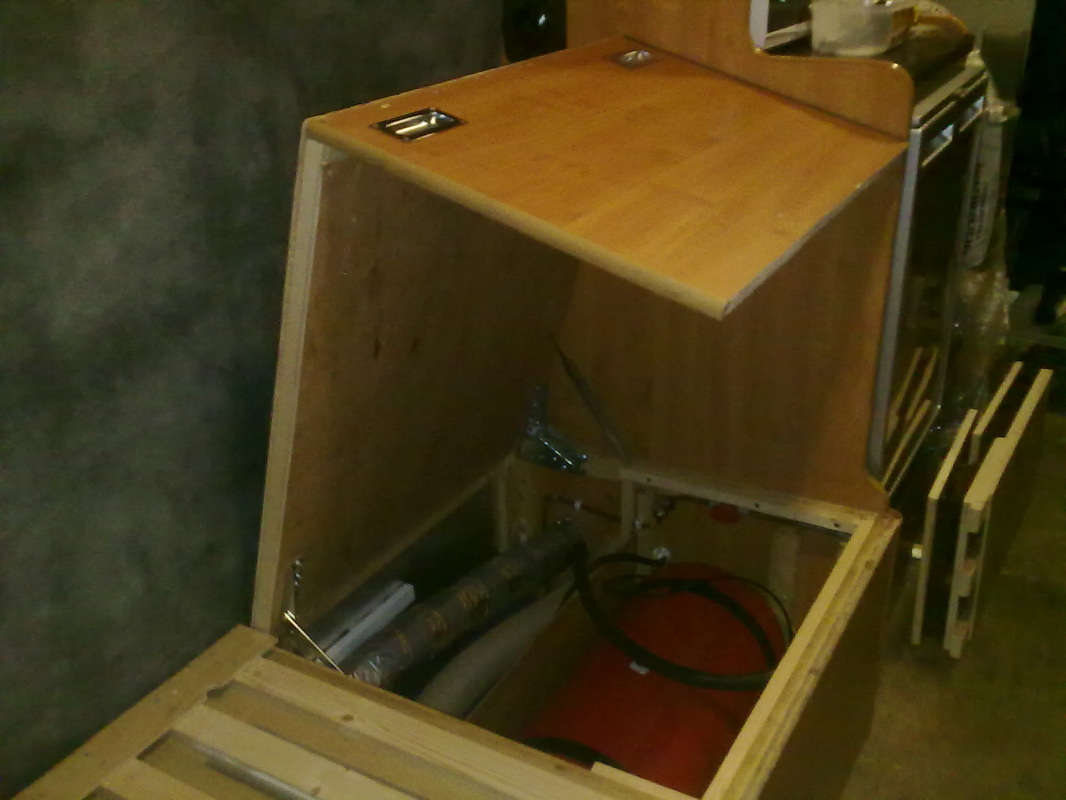
The double bed in all its glory. 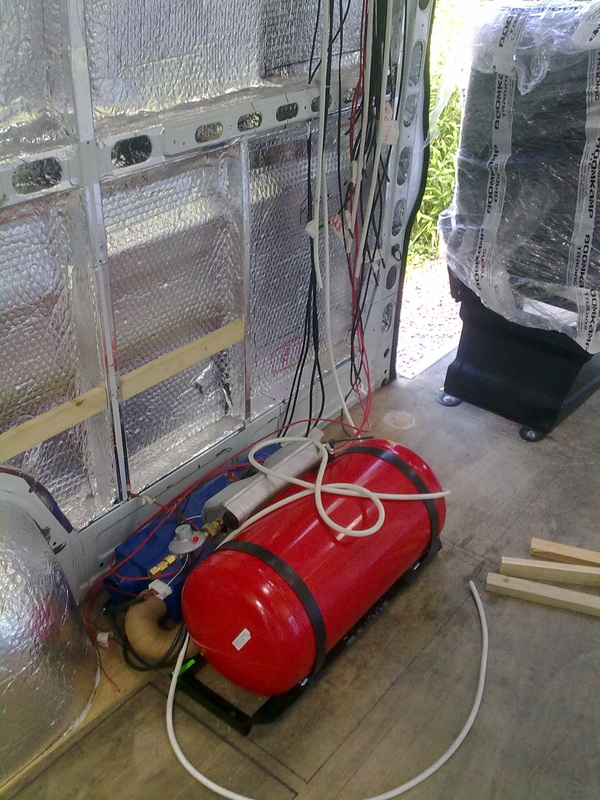 LPG tank and Propex heater LPG tank and Propex heater Fitted Bulk Propane tank(red) and Propex hot air heater(blue) behind. The heater has an air intake for the gas burner ,and an exhaust,running to the outside of the van.Further ducts will suck air in from the living area,and pump it out hot The gas tank has a filler hose going through the floor,and attached to the skirt of the van outside Whether this combination of a gas tank,and a gas /electric heater under my bed will be an explosive mixture,time will tell ! Wires go everywhere!-all labelled for future connection. 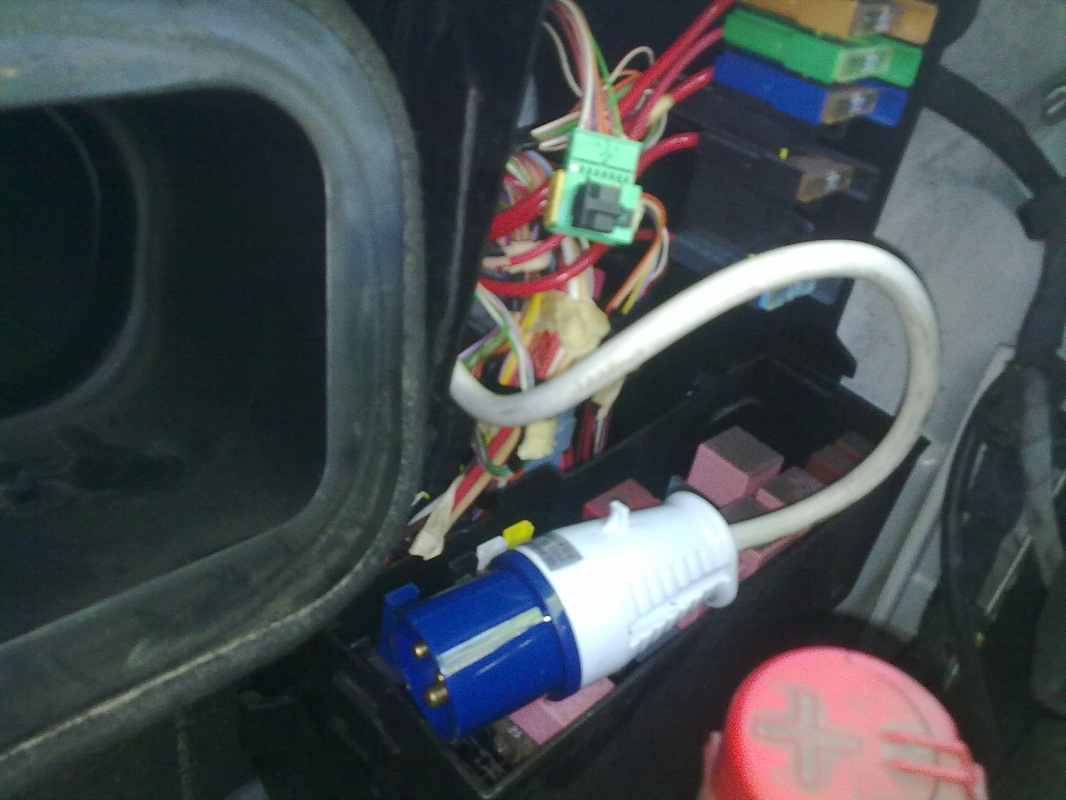 The 240 V electrical hook up point has been cleverly hidden under the bonnet(emerging from the fuse box)Should be an easy thing to connect up to the power supply by running the extension cable up from the ground,into the engine bay. 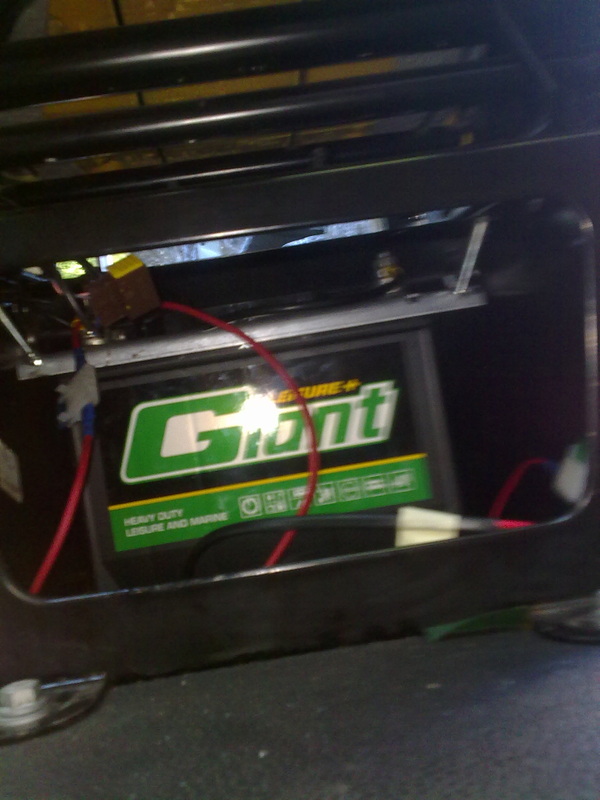 leisure battery leisure battery A pair of 12 V leisure batteries,one fitted under the driver seat,and one under the front passenger seat.The vehicle battery is in a box under the drivers's feet,so in close proximity to the new batteries 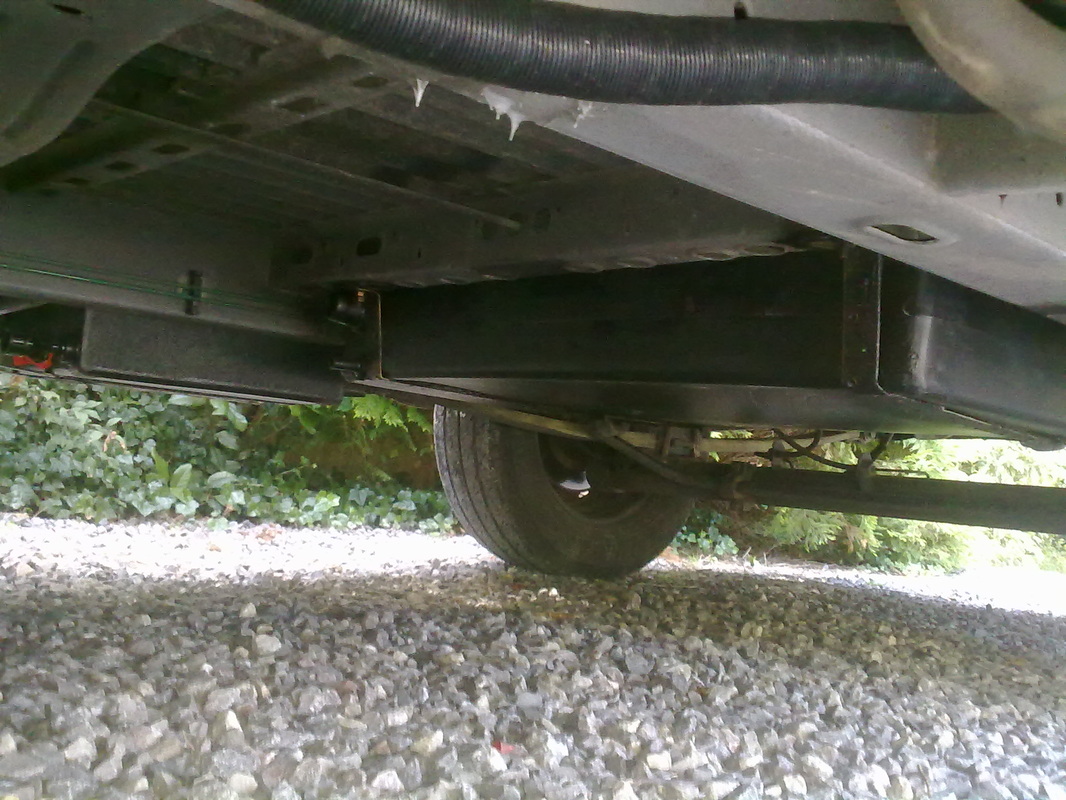 hedgehog's view hedgehog's view The 80 Litre water tank in the middle of the picture.In the distance is the smaller waste water tank.In the foreground is the air heater's air intake. 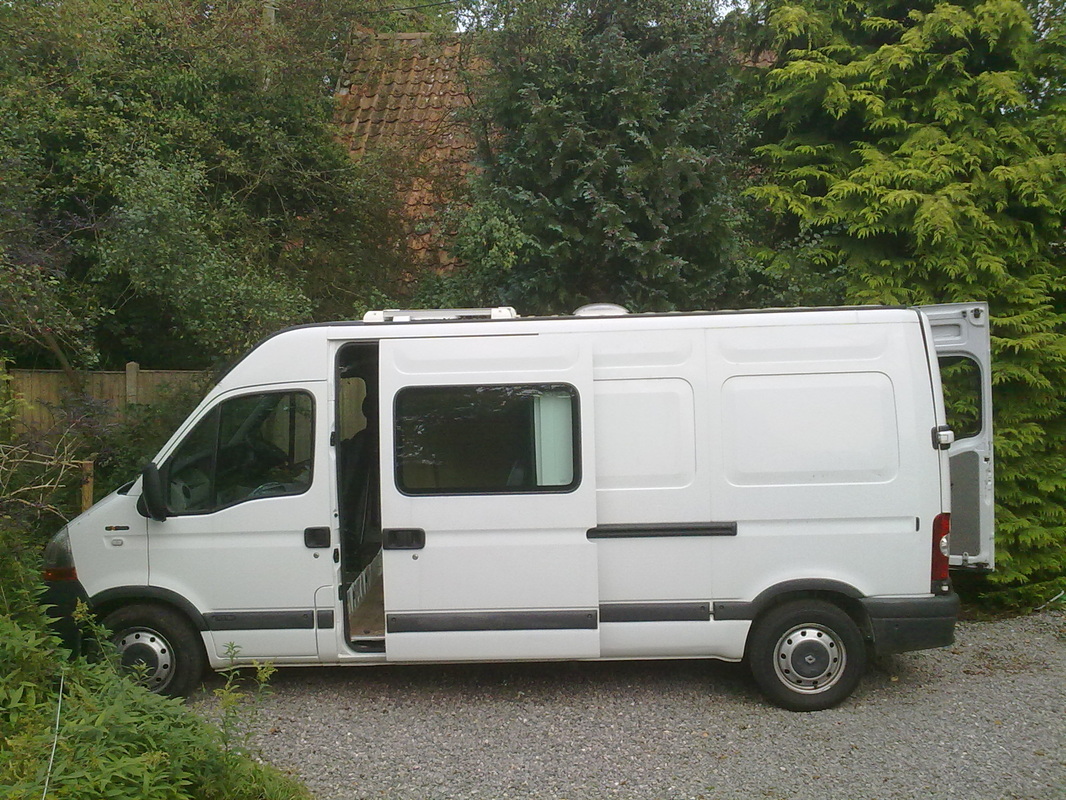 The solar panel is to the front of the roof.The living area skylight is to the rear(the bathroom skylight is hidden by the solar panel)
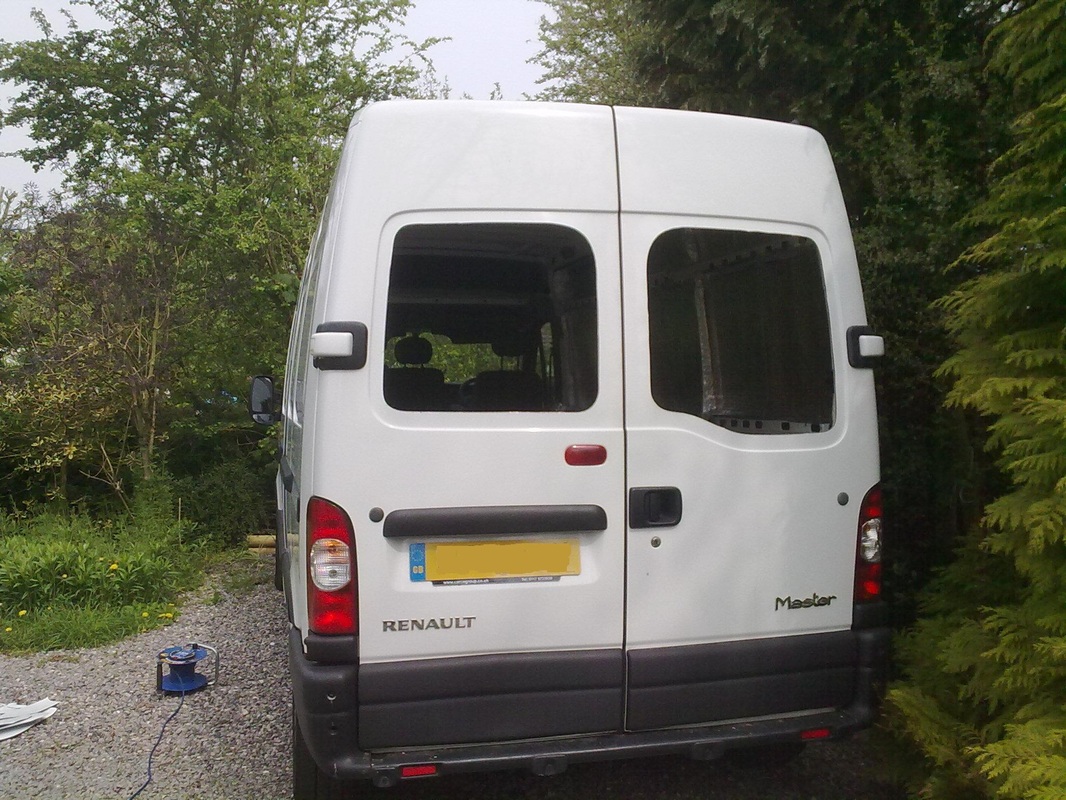
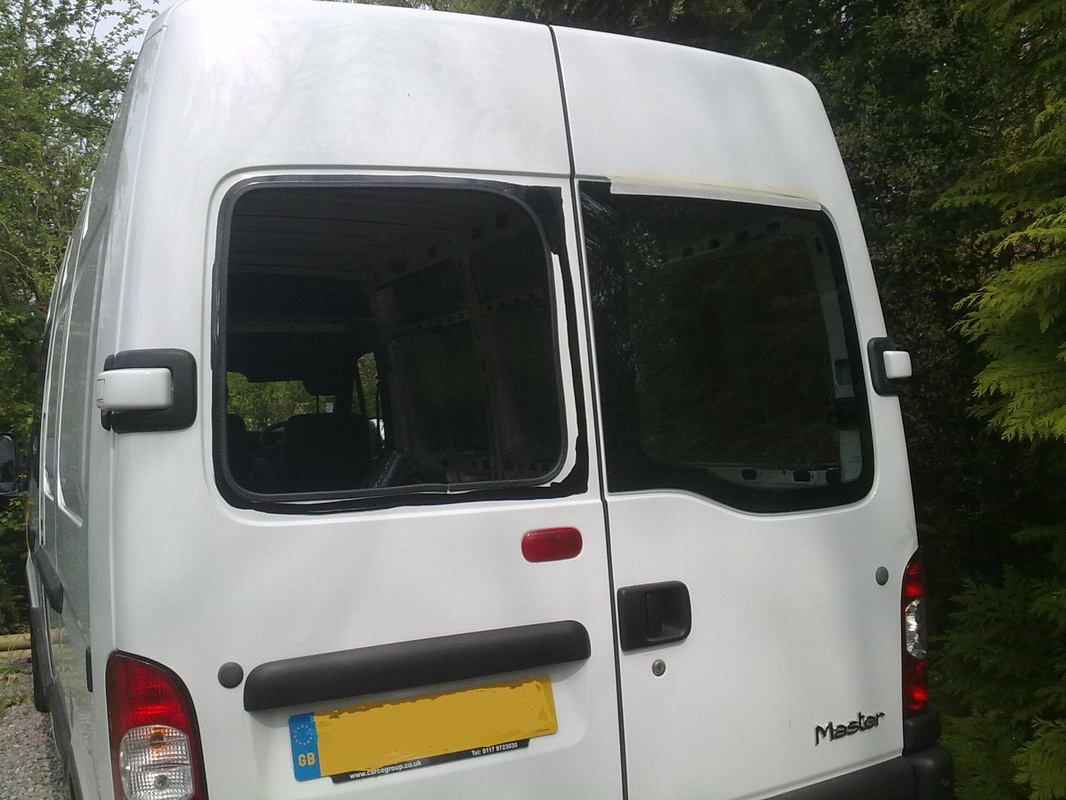
The LPG filler point is beneath the sliding door-satisfactorily invisible! With the van insulated with silver bubble wrap,and the carcasses of bench set/bed and kitchen cupboards prefabricated,but not fixed in place,it was time for the van's first trip to Jason at Clutton. Tasks- Air Heater -to fit to the floor a Propex 2000e air heater,which runs on both propane,or 240 v electricity(not both at the same time !)This needs air intake and exhaust pipes fitting through the floor to the outside.It blows ducted hot air into the van living area. 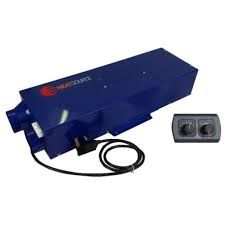 propex 2000e space heater propex 2000e space heater Gas system -to install a bulk propane tank inside the van,with a filling point in an inconspicuous place outside the van. This can be filled up at LPG pumps at fuel stations,and a 30 Litre fill should last up to six weeks,according to accounts.Gas will be used to run the air heater,the water heater,and the cooker hob,although connecting up will come later. Electrical system Fit the wiring to install the following:- -Leisure batteries(additional batteries to run 12v electrical equipment,fridge,LED lighting,water pump,toilet flush etc) -240 v Hook up(to connect to mains power on campsites and halts)and to run the electrical parts of the air heater,and hot water heater.extra sockets will allow charging of equipment(although also possible through 12 Volt sockets )and to run the microwave -Wiring for all of this(12 Volt and 240 Volt systems) -To run all of this ,an ECU(Electrical Control Unit)is needed,with 12v fuses on the circuits,circuit breakers on the 240 system -wiring to include coaxial cable for TV/satellite The wiring will eventually be hidden by refitting the plywood panels,ply-lining the ceiling,and by the furniture. Fit solar panels on the roof to provide auxiliary charging for leisure batteries(these are otherwise charged via the ECU by the van alternator when driving,and the 240 V hook up if connected at a campsite.)Solar panels will provide some versatility,and allow free camping for a weekend or so without need to connect up to external power.In particular,,having opted for a 12 V compressor fridge,this will be running all the time ,needing a constant trickle of 12 current. Skylights Being wary of cutting holes in my van at this stage,I have asked Jason to fit 2 small skylights,one for the living area,one for the bathroom,With security in mind,these will be small,30 cm squared,and will not allow entry if they are prised off.The will provide a little light,but are chiefly with ventilation in mind Water system to fit an 80 L fresh water tank,slung under the van(CAK tanks ,that source of everything known to man for the camper convertor,do a bespoke one for Renault Masters) and a small waste water tank If you are lucky the van you buy has windows already. Mine didn't .I decided I wanted rear door windows,and a window in the sliding side door.As these are often added in the factory the van will retain the "stealth" appearance of a working van .The sliding door window also greatly improves visibility to the left when at staggered junctions,and is invaluable for visibility when driving on the right in Europe. I didn't fancy cutting huge great holes in my new pride and joy myself.I booked some professional fitters who came,and did the job on my drive.Actually a relatively easy task,I suppose,in retrospect-but one which if it went wrong would wreck the van.Essentially they just used a jigsaw,cut out the template holes in the door panel ,already obvious from the build of the doors,and the window panes then go over the holes and are fixed with a quick setting glue.An hour later and it looks as though the job had been done on the production line.
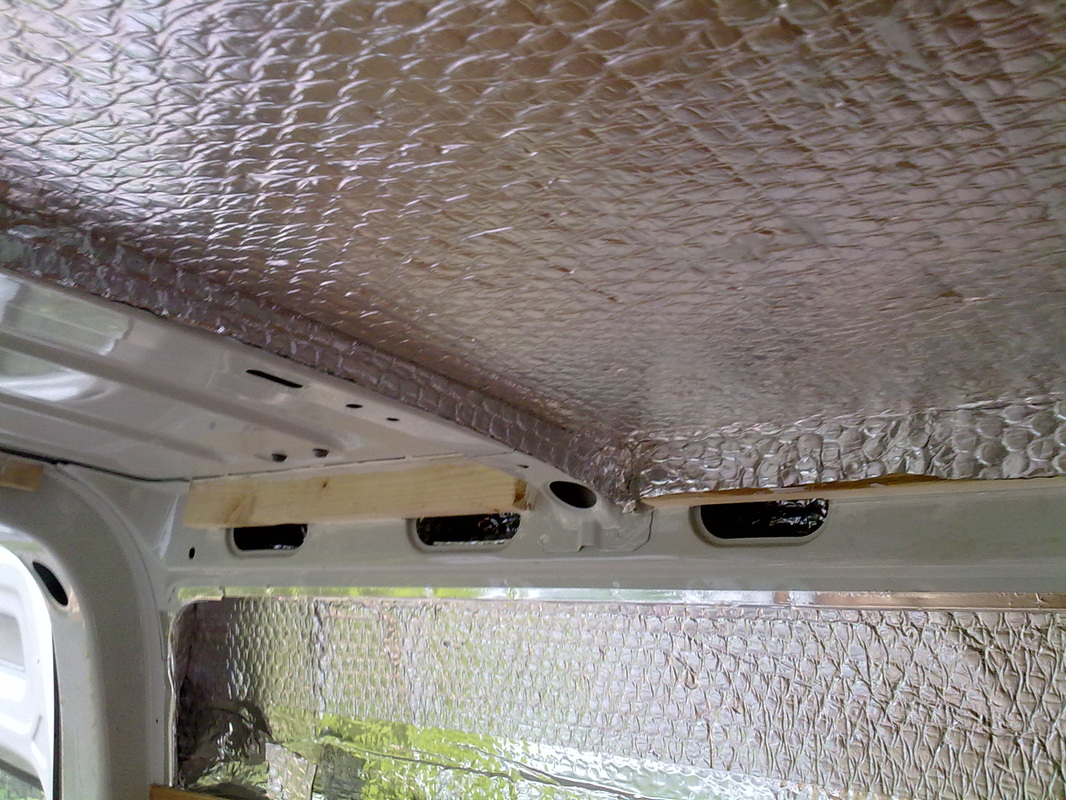
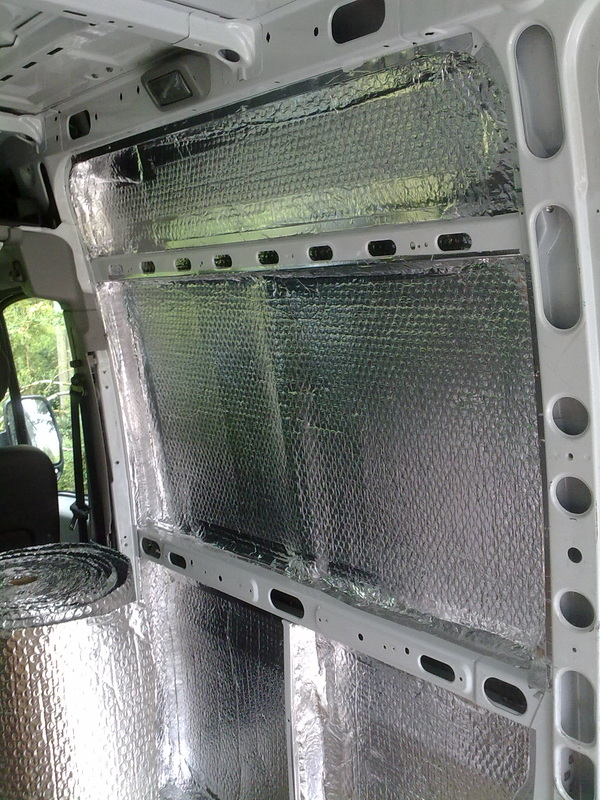 The Airtec is easy to cut, is light but rigid and can be bend to fit tightly inside each of the panel sections.It apparently works best if there are air gaps between layers.I have only sealed the sections around the edges so there is an air gap under most of the foil. I plan to stick a layer to the underside of the plywood panels when I replace them,making that a double layer of Airtec with a sealed air gap between the two layers. Despite the superior spec,it was apparent that on a hot day a single layer did still allow some heat to transfer through from the outside.Two layers on the walls and 3 on the ceiling will provide a decent insulation
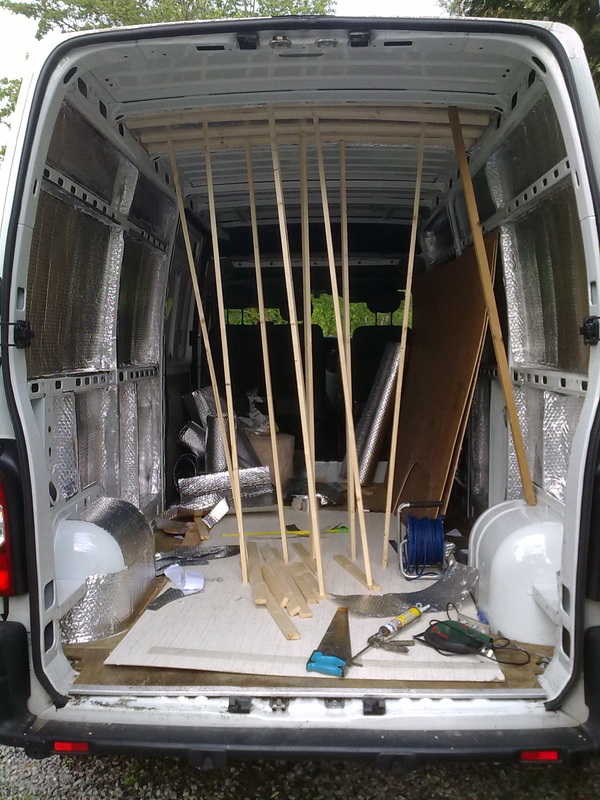
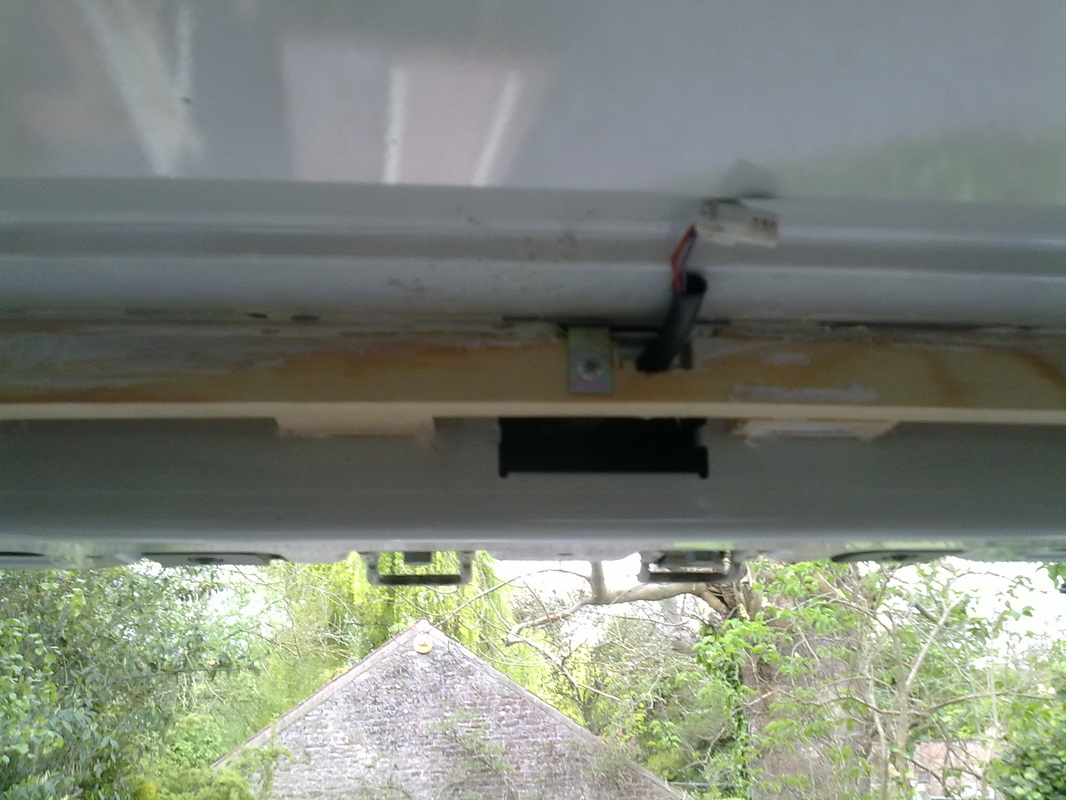
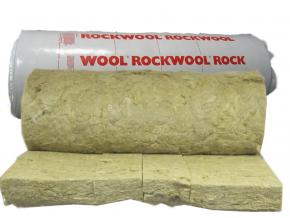
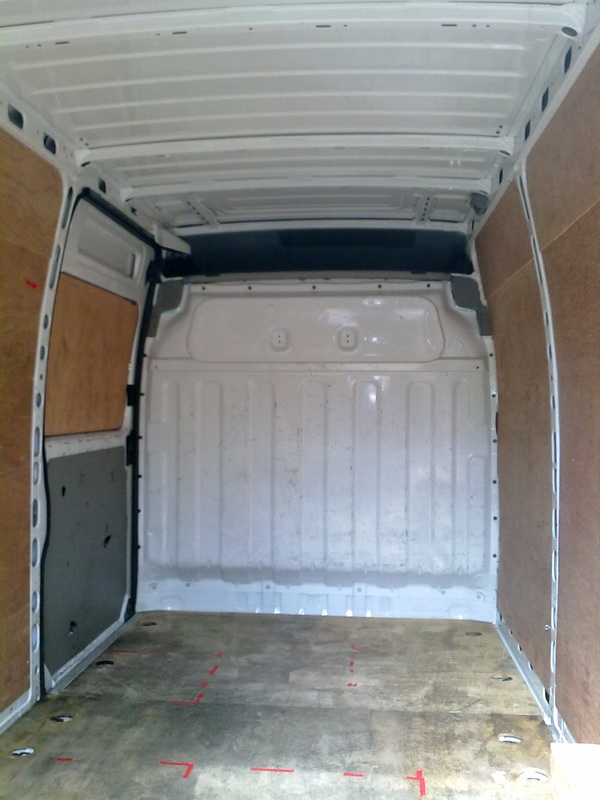 The walls and ceilings of panel vans are very thin metal,with none of the insulation and fabric covering that you get in a car.Strength is provided by bulkheads.(The thin walls actually make it easy to cut holes for windows,skylights and flues if you have a bit of confidence).Insulation is vital otherwise you will be extremely hot in the summer,and freezing in the winter.There is little point installing heating (I will be) unless the heat can be retained in the van.Also,with bare metal ,you get a huge amount of condensation in the cold weather.My van came with a bare ceiling,and plywood paneled walls and floor,standard for a working van.There is no insulation beneath the plywood.Having read about the problem,one needs to be aware of conduction channels that can defeat your attempt to insulate ,i.e. any metal or glass that is in continuity between the outside and inside,such as bulkheads,door surrounds,and windows,are channels for your heat to flee the van 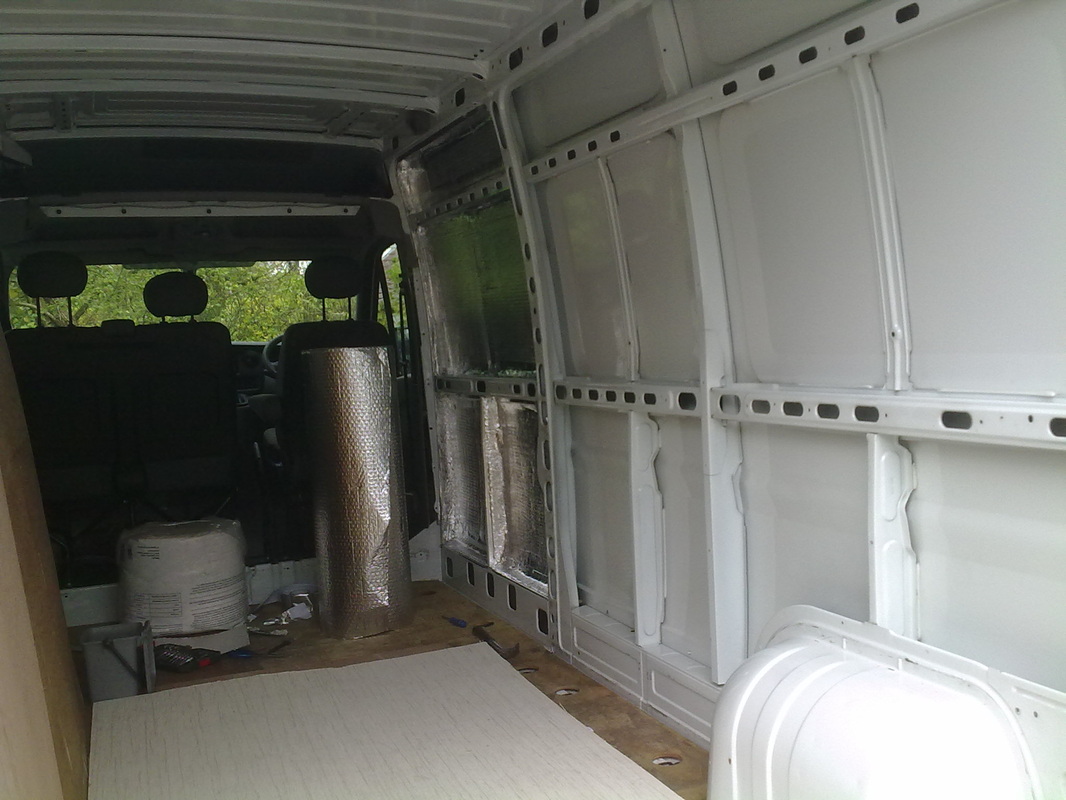 The first step was to remove the plywood panels and the boxing from the wheel arches.Taking advice from a professional converter,I decided to leave the plywood floor alone.Seeing converters describing their work on brand new vans,I see it is usual to lay underfloor insulation if you are starting from scratch.(you have to be careful not to lose too much of your headroom).However,the floor in my van is secured by multiple screws tapping through the metal floor.If they were taken out,it would be unlikely I could get the screws back in the same holes,resulting in multiple unnecessary perforations through the floor*.With the panels removed,you can now see the walls are divided into "boxes".These are not regular shaped,and are of varying depths *After using the van in fairly cold weather,it became apparent that the lack of insulation under the floor was a weak point.The floor felt very cold and must be a big source of heat loss.The problem was partially resolved by using some loose carpet floor runners and mats .If starting from scratch with a brand new van,laying something like Cellutex slabs under the floor panel would be a good idea,but check you don't lose too much headroom. What to insulate with? There seem to be 3 main types of insulation used by self-builders.
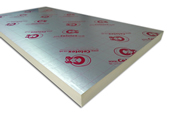 2) Cellutex ,or Kingspan. these are lightweight foam slabs,easy to cut ,but not flexible.A lot of people seem to use these,but I think that they are no use at all for my van walls and ceiling ,which are curved,irregularly shaped and which have sections of different depths .Trying to bend them round a curve often results in them breaking .Cutting to shape would be a nightmare 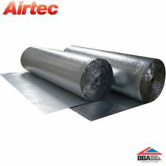 3) Silver foil lined "bubble wrap".Cheap varieties are used to go behind radiators in houses,but there is high spec stuff too,for which the makers claim a single thickess (of about 4mm) has the same insulating properties as a 50mm cellutex panel.So I went for Airtec.Not cheap at at £90 per 50 metre roll,but 2 of them will be enough to do several layers for my van As it is so thin,light,and easy to work with,I plan 2 layers on the walls,and three layers on the ceiling.
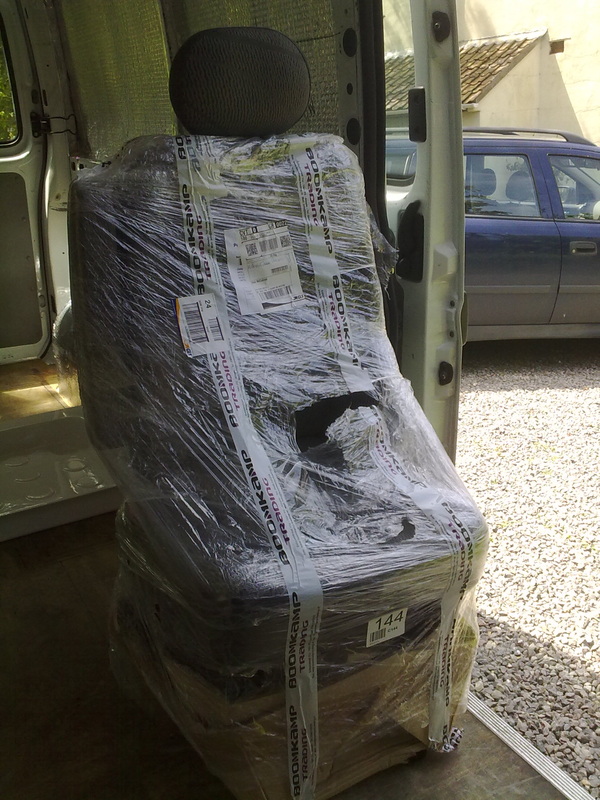
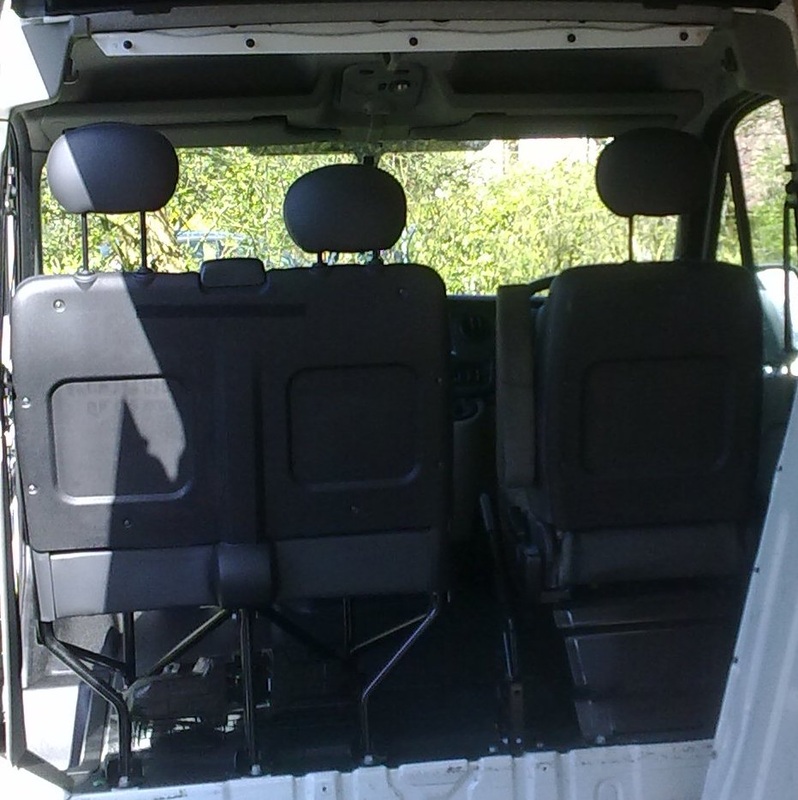 The double passenger bench seat needs to go.You can't squeeze past it to get into the front of the van. Campervanning seems to be a hobby for couples:the greater proportion of converted vans seem to have just two front seats,often on swivels,to form part of a "lounge area" in the forward section of the van. I want to keep my options open,and have 3 seats so that the occasional family member or friend (or hitchhiker) can come too.This will have an added advantage of not needing to change the seating number on the DVLA registration document.The Renault Master seats have a nice big armrest-I wanted to get a matching seat to go on the passenger side.Various people suggested getting a second hand drivers seat,but the armrest on the left hand side would have to go,and the seatbelt lock would be on the wrong side.The obvious answer is to source a Left hand drive Driver's seat from Europe.And while I'm at it why not two,with one extra driver's seat fixed in the rear,rather than a minibus type seat?The armrest will stop the passenger falling out sideways! 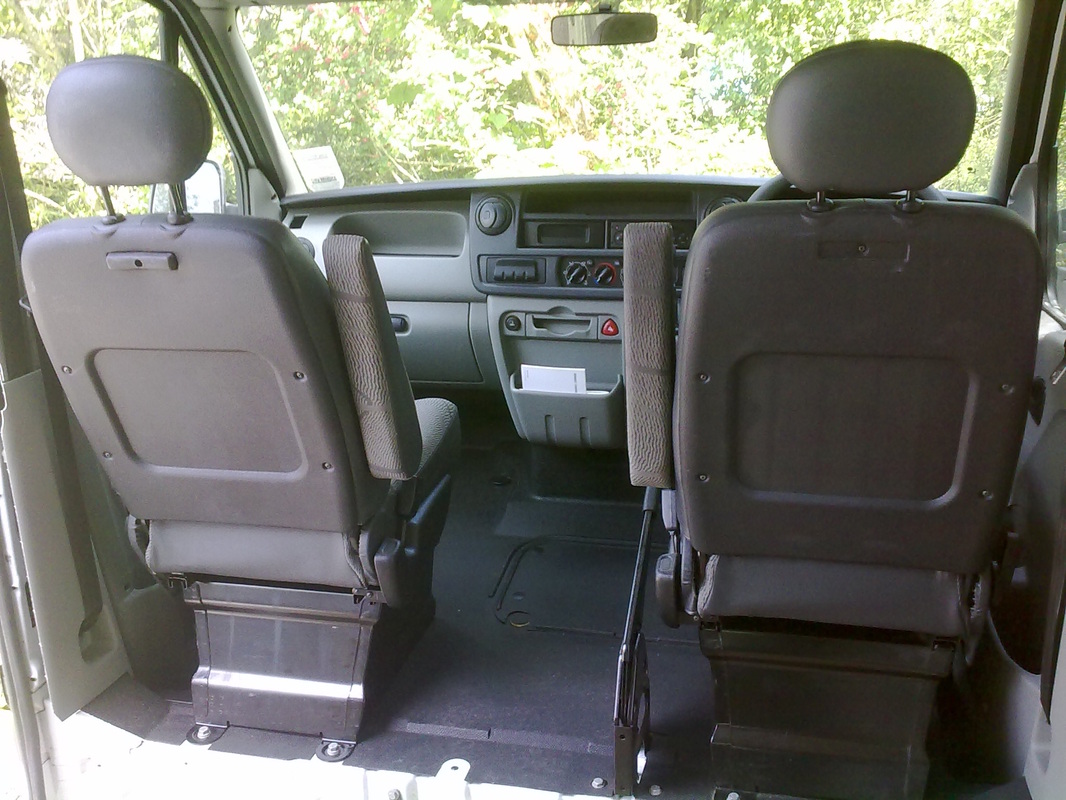 I hit on the idea of searching for seats online in Holland as I felt that I was likely to find I could speak English to any web contact I found.A little bit of searching and I came up with Dennis Boomkamp Trading , Edisonstraat 11a, 7601 PS Almelo, Netherlands.What I'm looking according to Google Translate is bestuurdersstoel (driver's seat).A couple of emails,with a picture of my existing seats so as to get matching upholstery,a Euro bank transfer online,and 2 perfect second-hand seats arrived in a couple of days.Removing /replacing seats is child's play,you just need a spanner to undo the nuts at the four corners.There are fortunately no electronics issues to contend with such as airbag sensors or seat belt pretensioners,on these simple bench seats,and the single seat fits neatly over four of the five holes vacated by the bench seat,and is fixed using the same nuts.
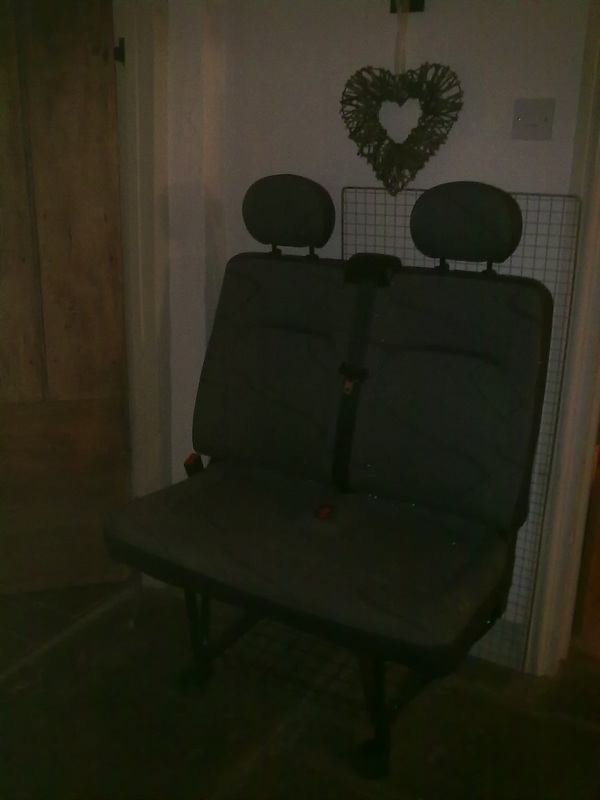 One spin-off is that we now have a very attractive new hall seat!!.For some reason I am being threatened with it being taken to the dump.
|
Renault Master campervan self-build Archives
August 2015
Categories |


 RSS Feed